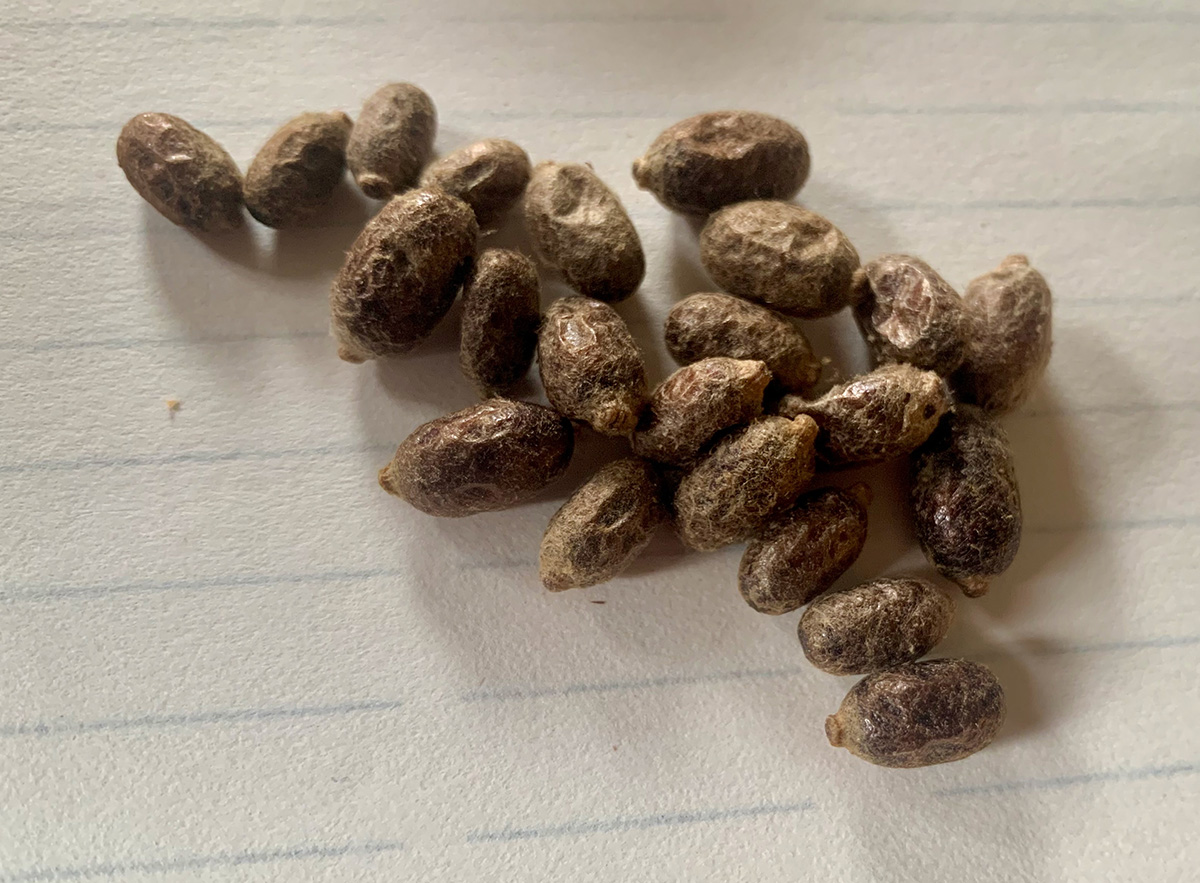
The process of harvesting mason bee cocoons and cleaning their houses should be done in October to mid-November. This vital process removes mud, frass (bee poop), and mites from the cocoons and is essential for healthy mason bee colonies.
Removing the Cocoons
Layered Nesting Blocks & Laminate Houses
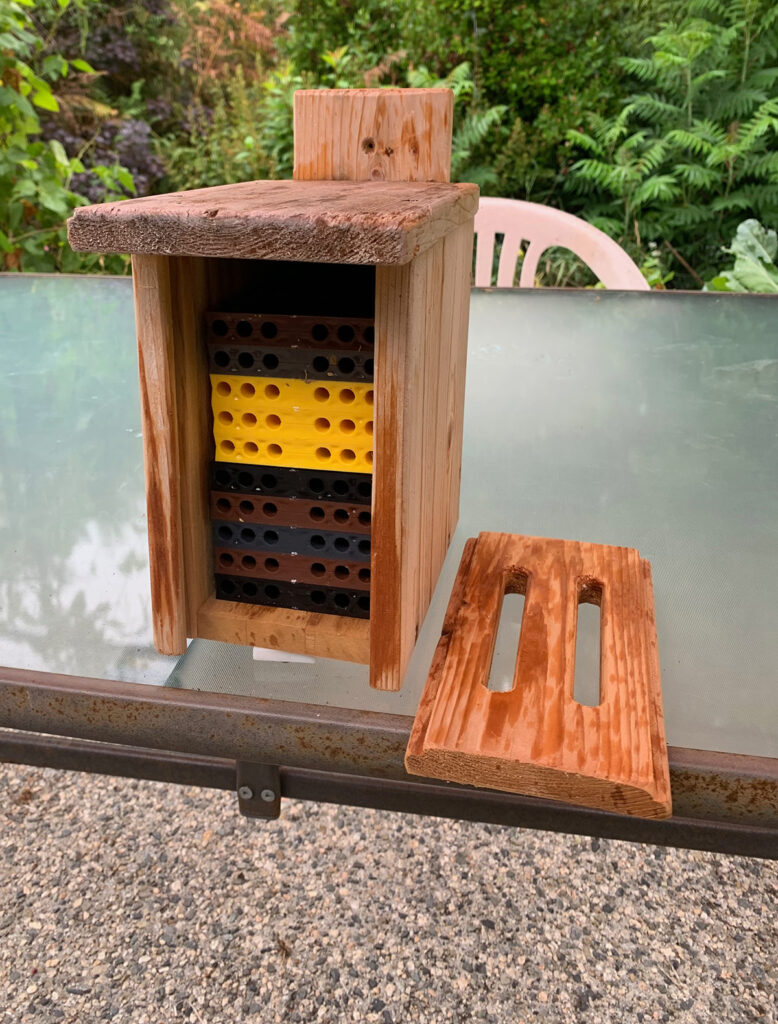
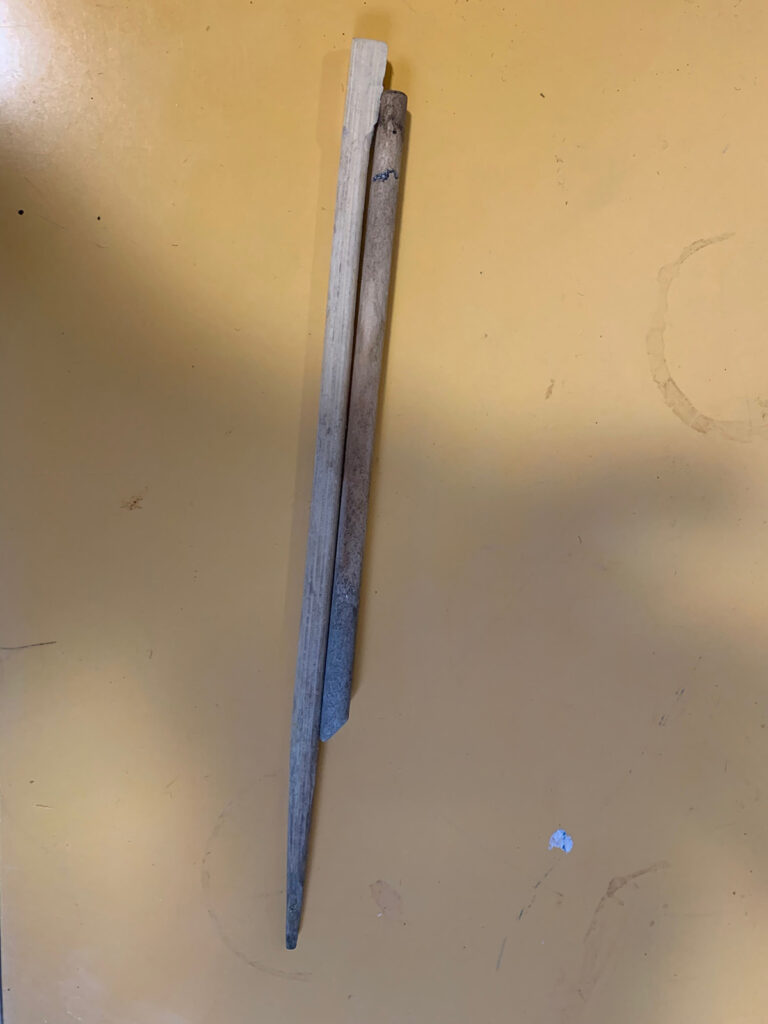
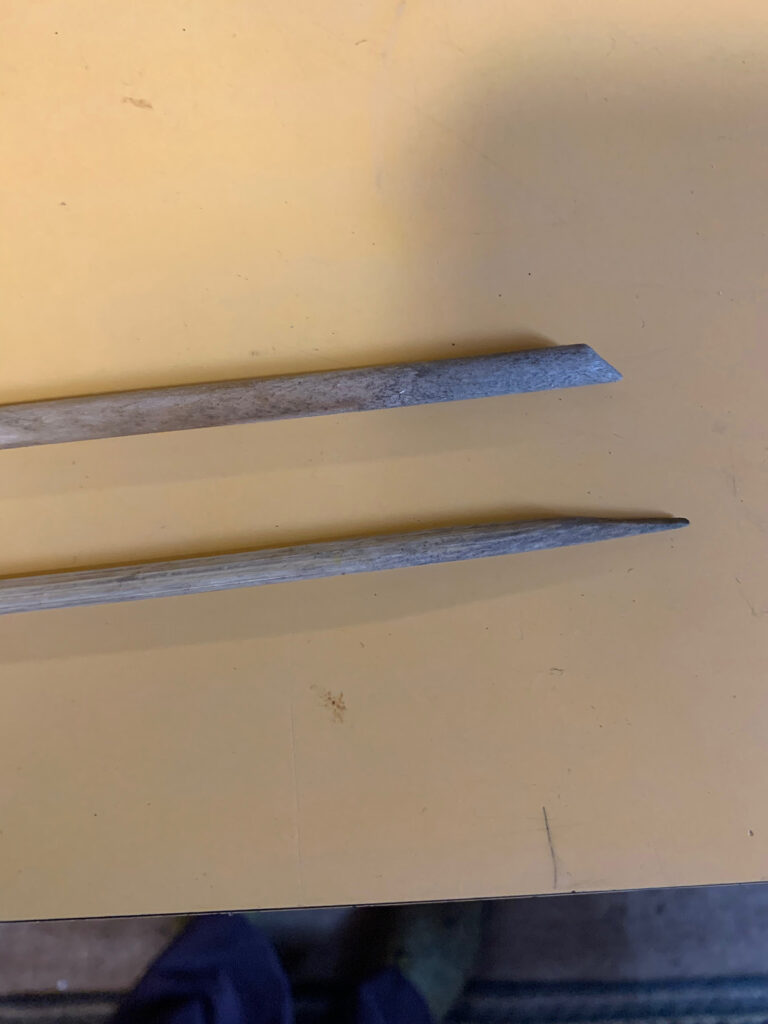
- For layered nesting blocks or laminate houses, carefully separate the layers and run a sharpened chopstick gently under the cocoons, pushing them up and out into a bowl of water. Don’t worry if the mud and mites get in there, they will sink and be washed out.
- Let soak for 20-30 minutes, swishing the cocoons around, to help the mud, frass, and mites fall off. Remove mites as much as possible. You can gently rub the cocoons to help remove any debris.
Houses Using Paper Tubes
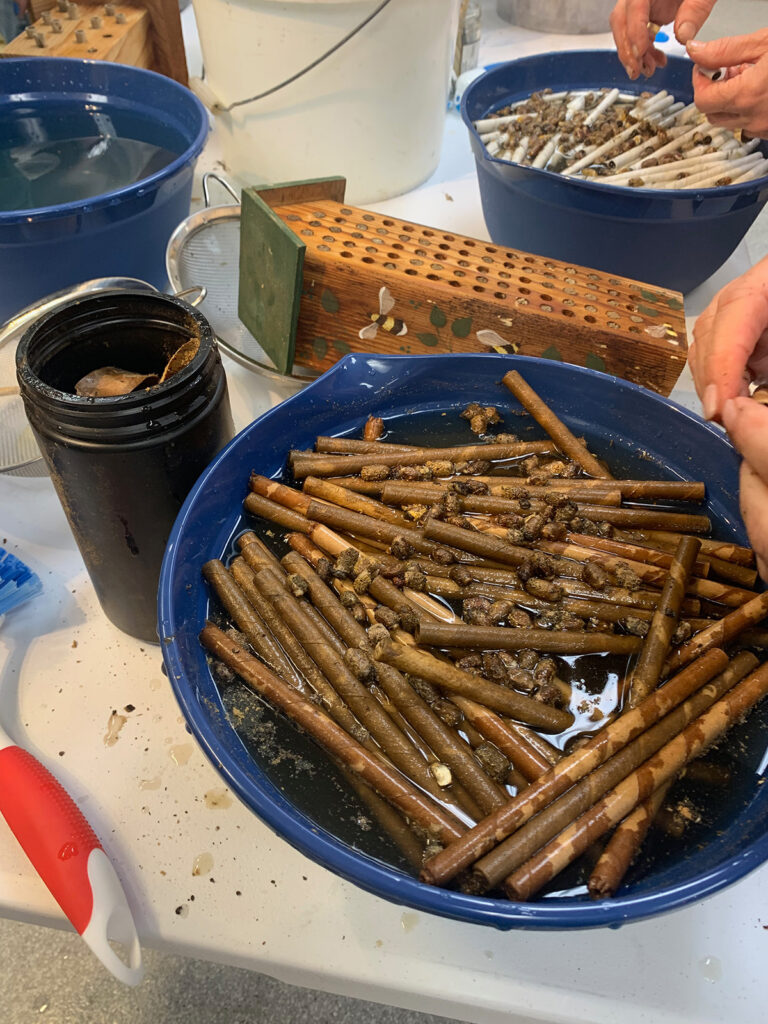
- Put paper tubes in the water and let soak for 20-30 minutes. When the paper has softened adequately, undo the tubes and allow the cocoons to fall into the water for cleaning.
Houses Using Bamboo Tubes
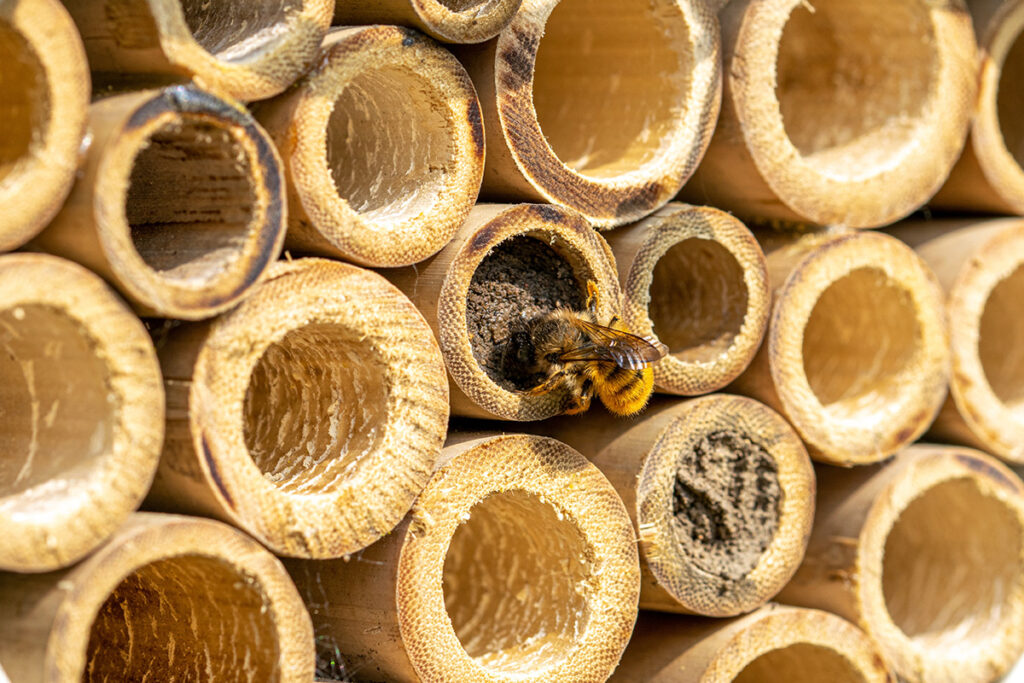
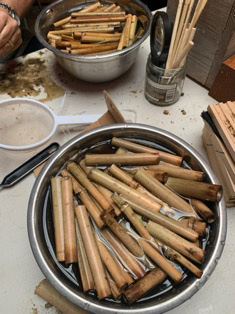
- Put bamboo tubes in water too and let soak for 20-30 minutes. Soaking will make opening them with a knife easier. While the cocoons are soaking, swish them around and gently rub off the frass, mites, and mud. Change the water and do it again.
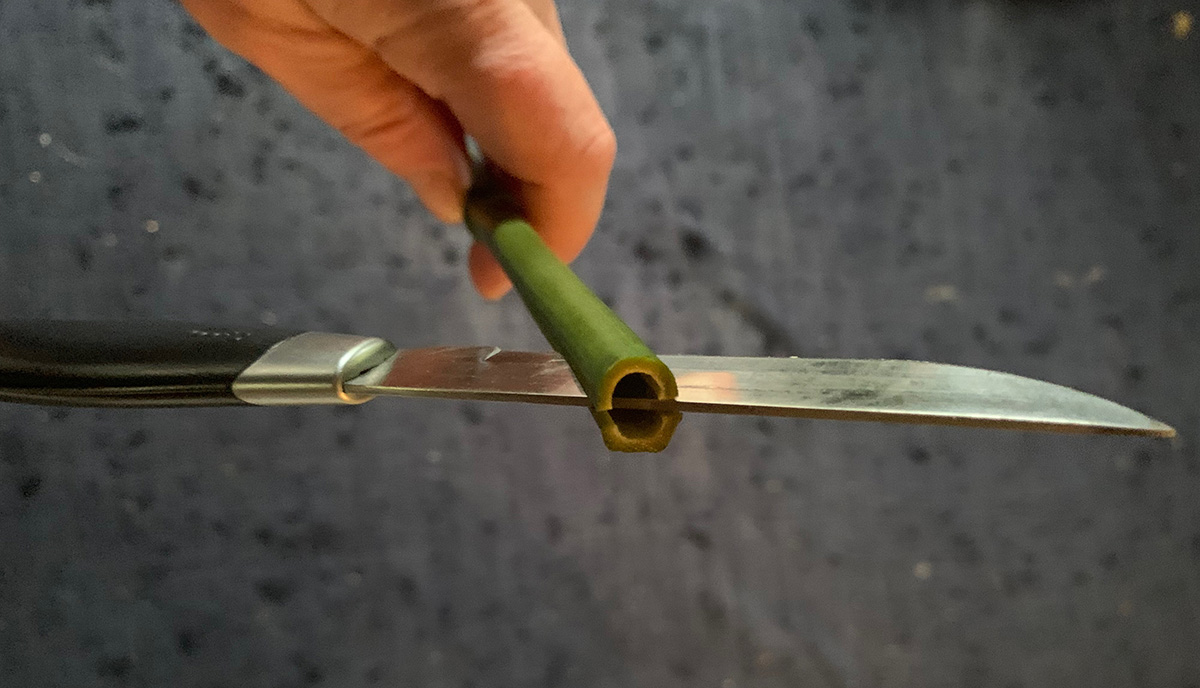
- Put a strong knife blade perpendicular across the opening and try to work it down into the top of the tube, even just a bit. Twist the knife so it cracks the bamboo through the middle. Be careful as you slide the knife down so that you don’t puncture the cocoons.
- Lever the knife down to split the bamboo in two. If there is a joint in the bamboo you may have a hard time getting it open.
- Burn the detritus and do not reuse the bamboo tubes.
Cleaning the Cocoons
Use Sand to Clean the Cocoons
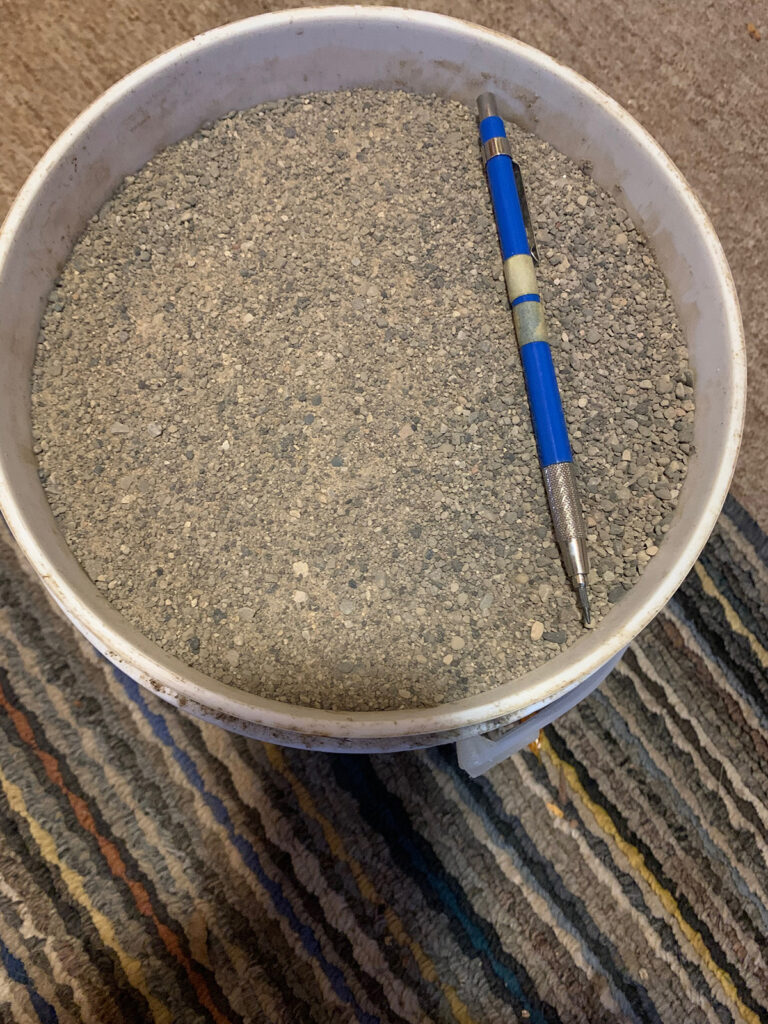
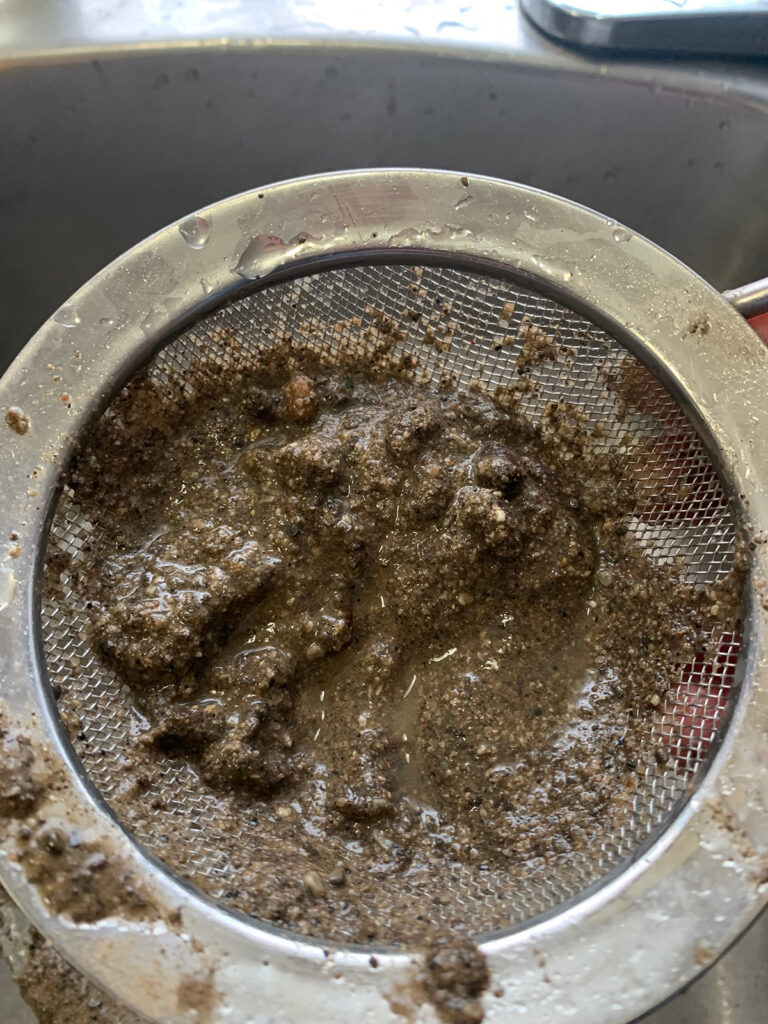
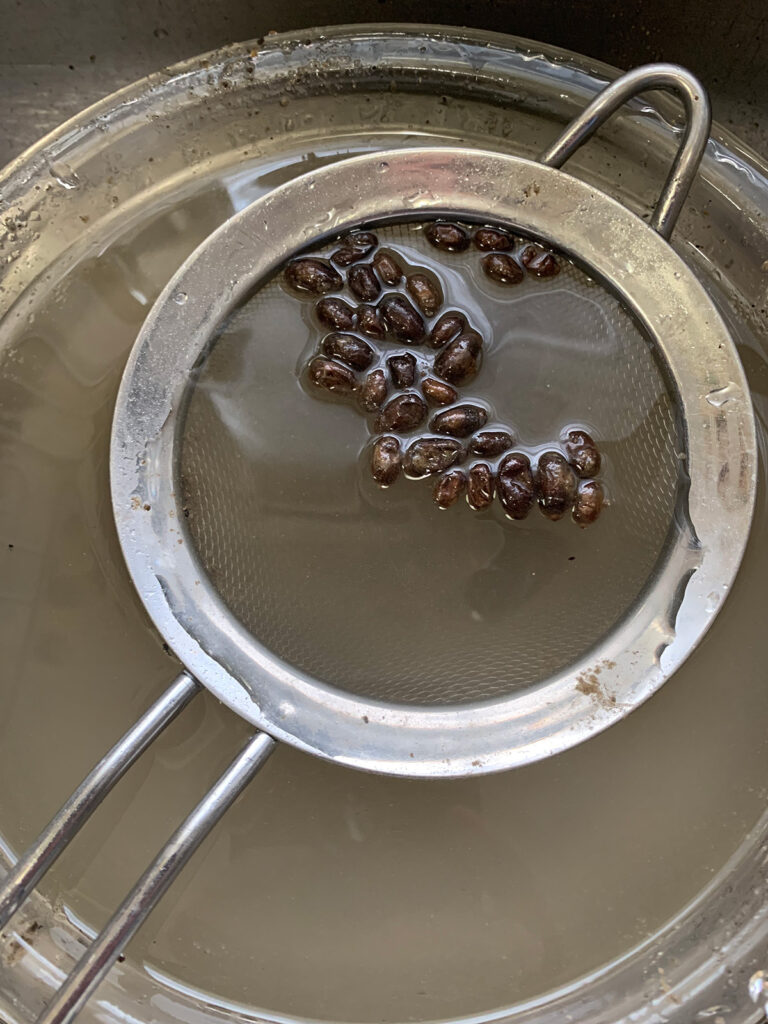
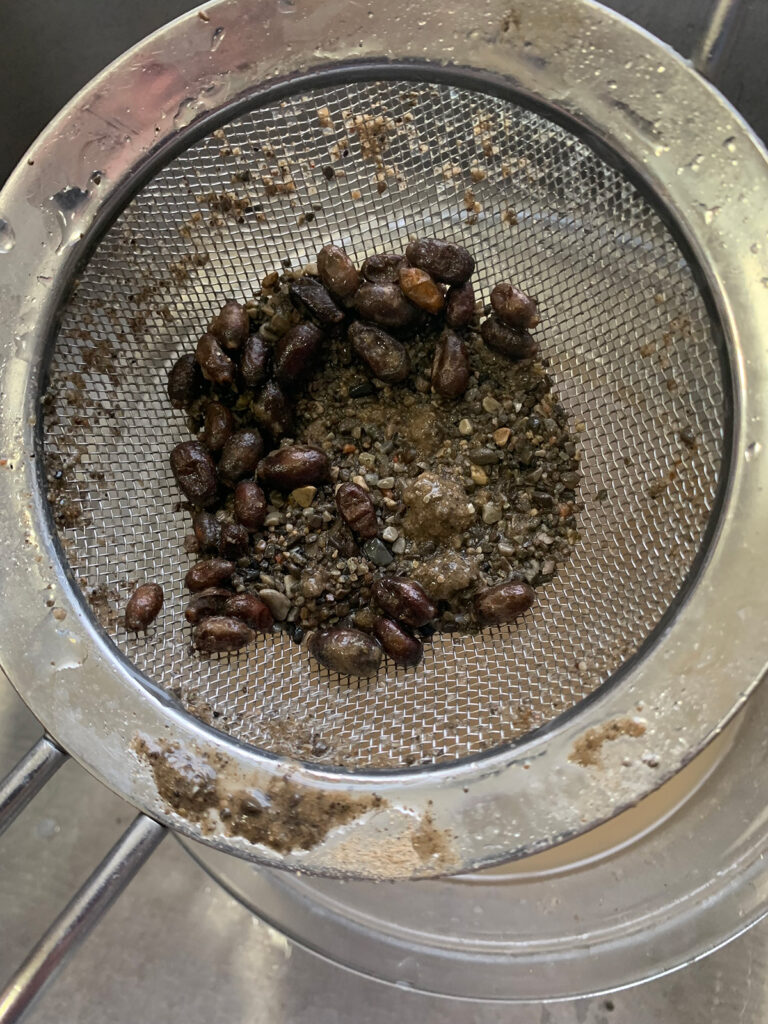
Scoop the cocoons out with a sieve. Add a handful of mason’s sand in the sieve and wet it with water while mixing the cocoons around in it with your hands. This helps remove the remaining parasites, primarily mites, from the outside of the cocoons. Separate the cocoons from the sand, and rinse the cocoons under running water to remove the sand.
Sterilizing with Bleach
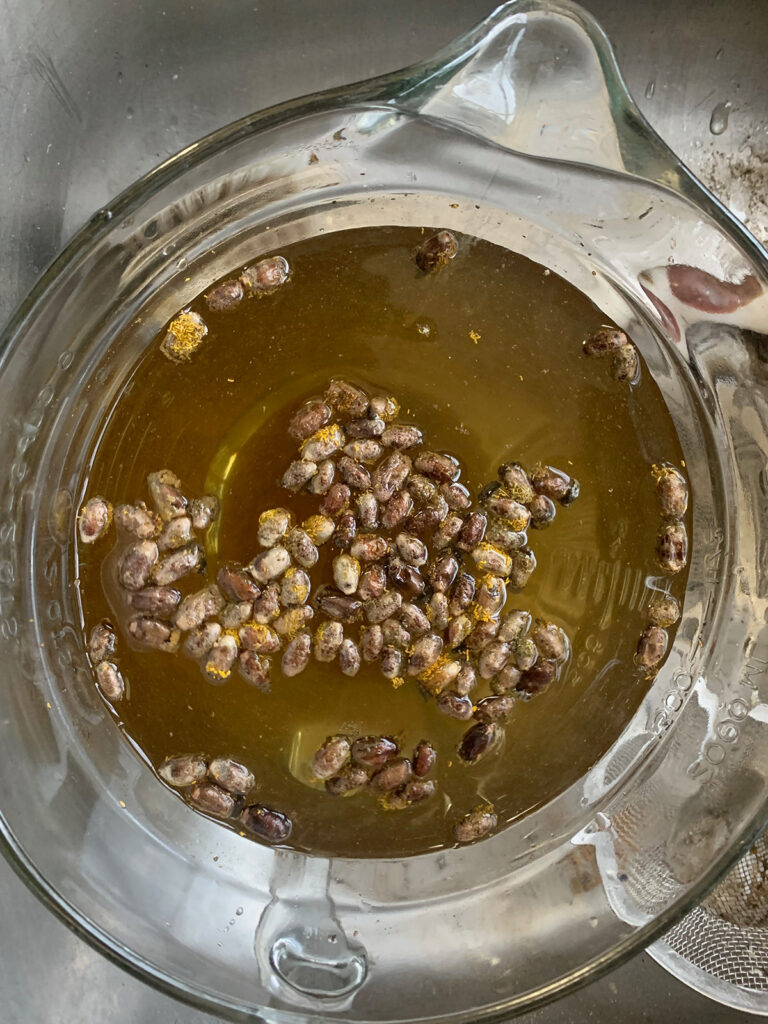
Prepare a solution of bleach: Mix 1 Tablespoon of bleach in 4 litres of water.
Put the cocoons into the solution for 5-10 minutes maximum. You can do this by hooking the sieve to the edge of the bucket and allowing the cocoons to float on top. This step ensures that any mold or parasites on the outside of the cocoons are killed.
Rinse Well
Rinse the cocoons in freshwater and let them sit in the water for 5 minutes to remove any remaining bleach.
Dry
Wrap the cocoons in a clean white tea towel or paper towel and allow the cocoons to dry for an hour. Inspect the cocoons carefully for any remaining mites on the outside of the cocoons. If you see them, repeat the sand and water process.
Candling
When the cocoons are dry, they need to be candled. Candling requires a strong light, such as a flashlight (you can use your phone) to shine through the cocoons. Don’t shine it on the cocoons for long though, as it disrupts them (they start buzzing angrily) and the heat dries them out, you want to do this step as quickly as possible to get them cool again. This step must be done in the fall, if it is done in the spring, you risk prompting them to emerge too early.
Candling Steps
- Hold the cocoons up close to the light. You are looking for the bee’s legs to make sure that a bee and not a parasite is what’s in there; the bees can move in this state so don’t be alarmed if you see movement.
- If you see little worms moving around, those are maggots of the parasitic wasps or the Houdini flies. Separate and destroy them by stepping on or burning them. If you are unsure, separate them and keep them apart over the winter in a separate container, keep an eye on them in the spring and check to see what emerges.
- Finally, scrub your bee house and trays in water, followed by a soak in the mild 1:4 bleach mixture for 15 minutes. Let them air-dry completely.
Conclusion
Now your cleaned mason bee cocoons are ready for storage until the spring.


Leave a Reply