
To increase visibility for my pollinator-friendly garden design & installation business, I came up with what seemed like a win-win-win idea for property owners, me, and the plants and animals. I approached landowners of properties with high public visibility, and proposed that we work together to establish a pollinator garden in their yard.
In the gardens I create, I select native plants that provide habitat and food (e.g. nectar, seeds, berries) for a wide variety of native insects, birds, and mammals. In turn, the pollinators ensure the continued survival of many plant species, both in the garden and beyond. I call these “Pollinator Gardens” or “Biodiversity Gardens”.
My plan was this: the landowners would purchase the plants and water the gardens, as needed, for the first 3 years. In return, I would plant, maintain, weed, and look after the gardens for those first 3 years. In my experience, perennial gardens tend to follow the old adage, “‘first year they sit, second year they creep, third year they leap!”. The gardens should be well-established and thriving by the end of the 3rd year. By selecting drought-tolerant plants that are adapted to the hot, dry conditions of the island, mature plants would need little-to-no watering.
Four gardens were chosen: one is across from the loading zone at the local high school; the second is at The Root, our local farmland trust; and the third is on a busy street with many families and the fourth breaks the rules by being a grass garden rather than a meadow in a private garden. Ideally, I would have loved to also plant trees and larger shrubs, but that wasn’t possible due to space constraints. I did manage to get smaller shrubs into 3 of the gardens. Shrubs provide habitat and/or food for pollinators as well as adding height that provides visual interest, drawing the viewer’s eye across the garden bed.
In this post I describe the process of planting these gardens – stay tuned for blog updates on how these gardens develop over the next 3 years by subscribing to my newsletter!
Chris and Rosie
10’ x 30’
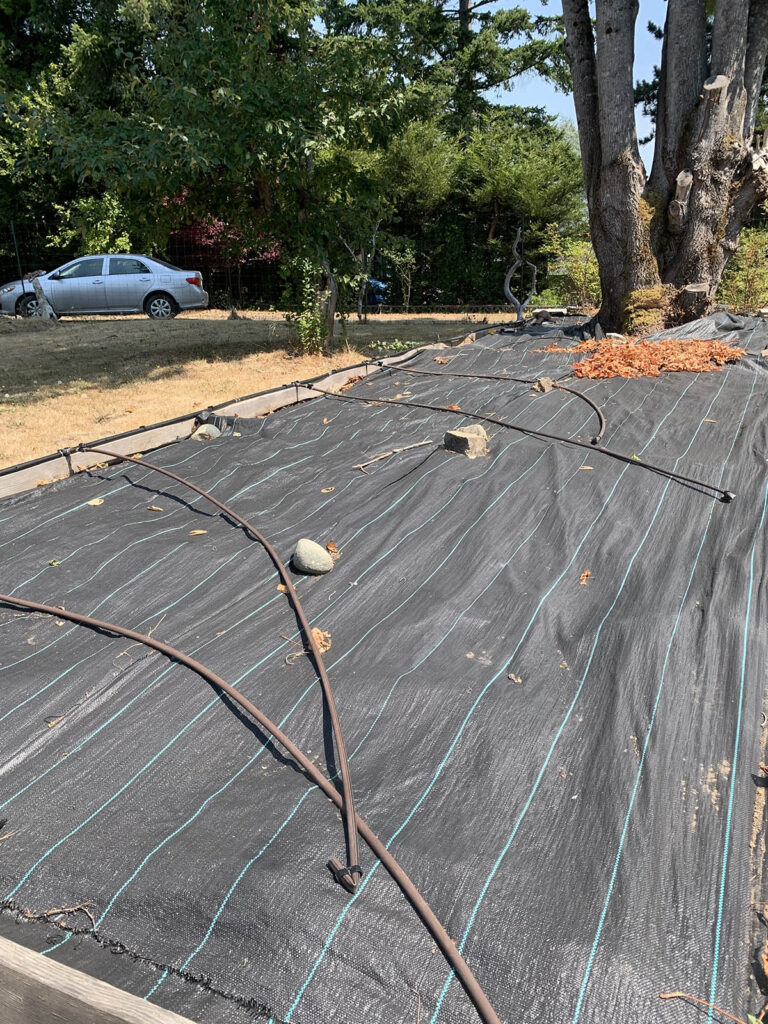
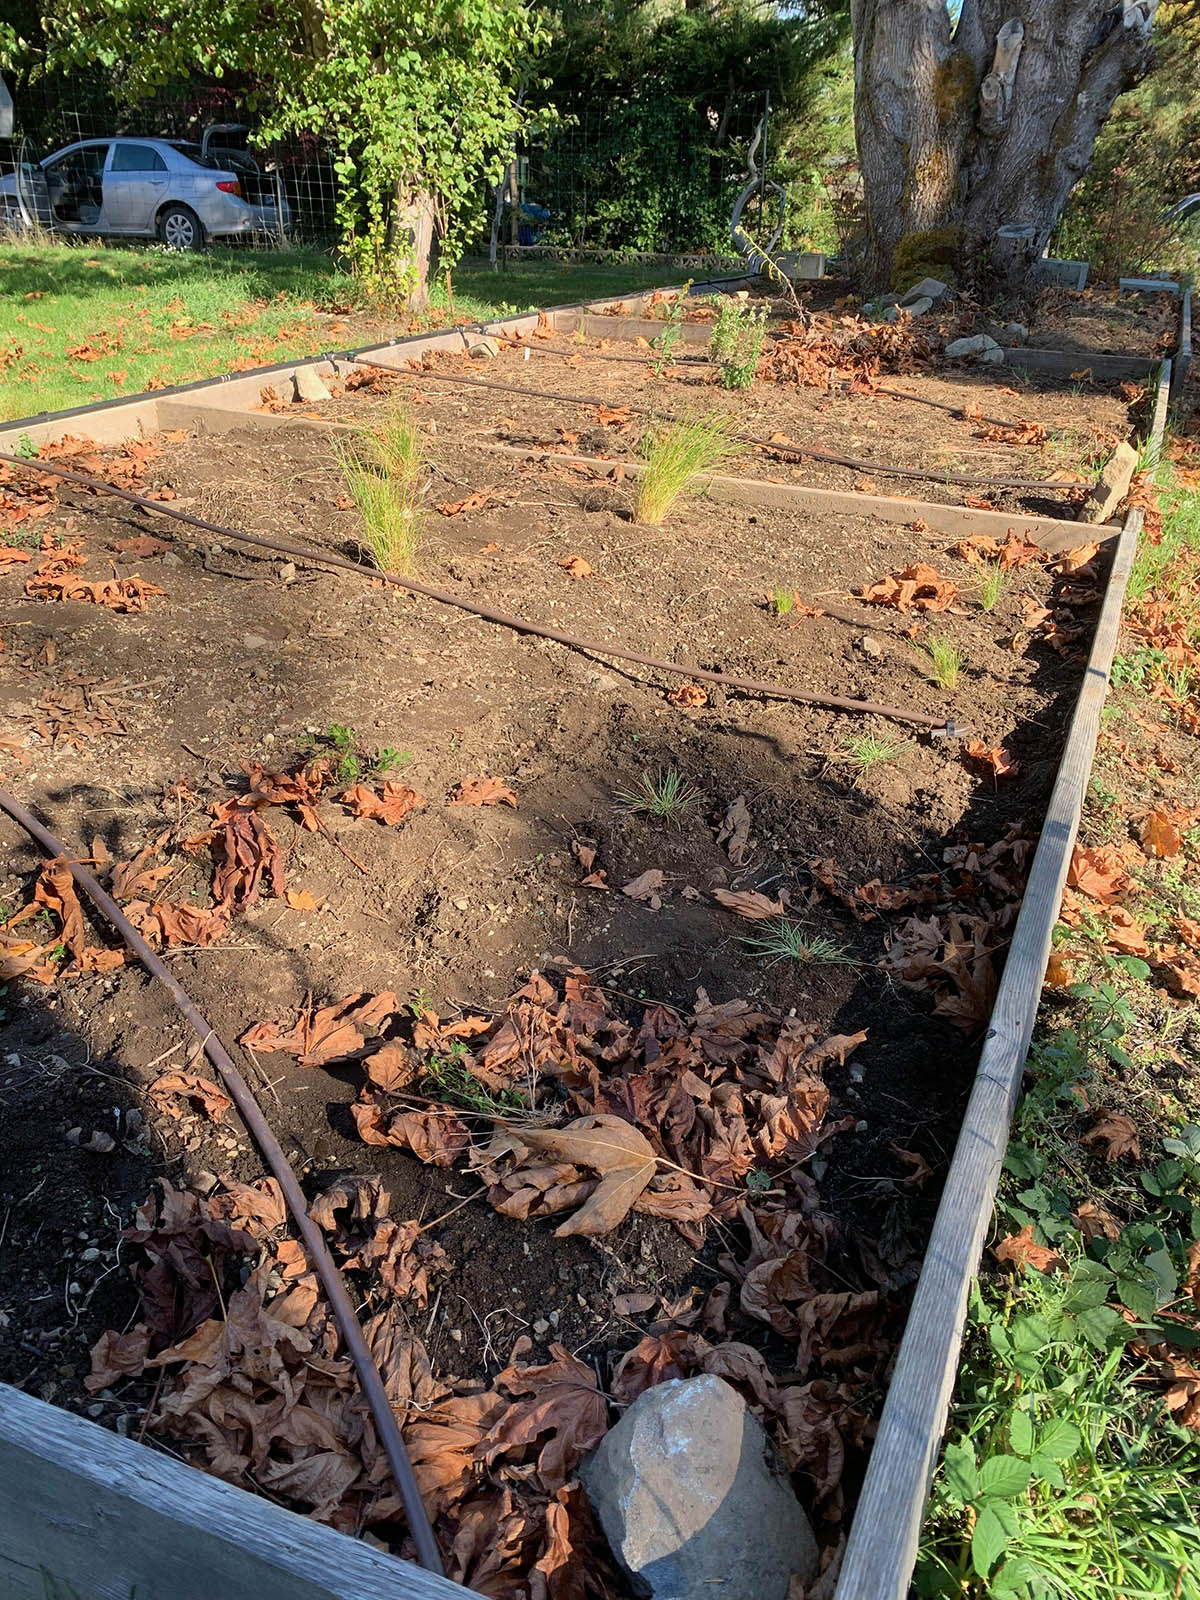
This garden bed was a delight to work in. The previous owners of the house that my friends had recently bought were keen gardeners, so the raised bed for the pollinator garden is full of good soil, clear of weeds, and even has irrigation! Planting the bed was a breeze and fun, often coupled with a friend visit too. It is across from the high school drop-off, guaranteeing visibility as parents come and go all day.
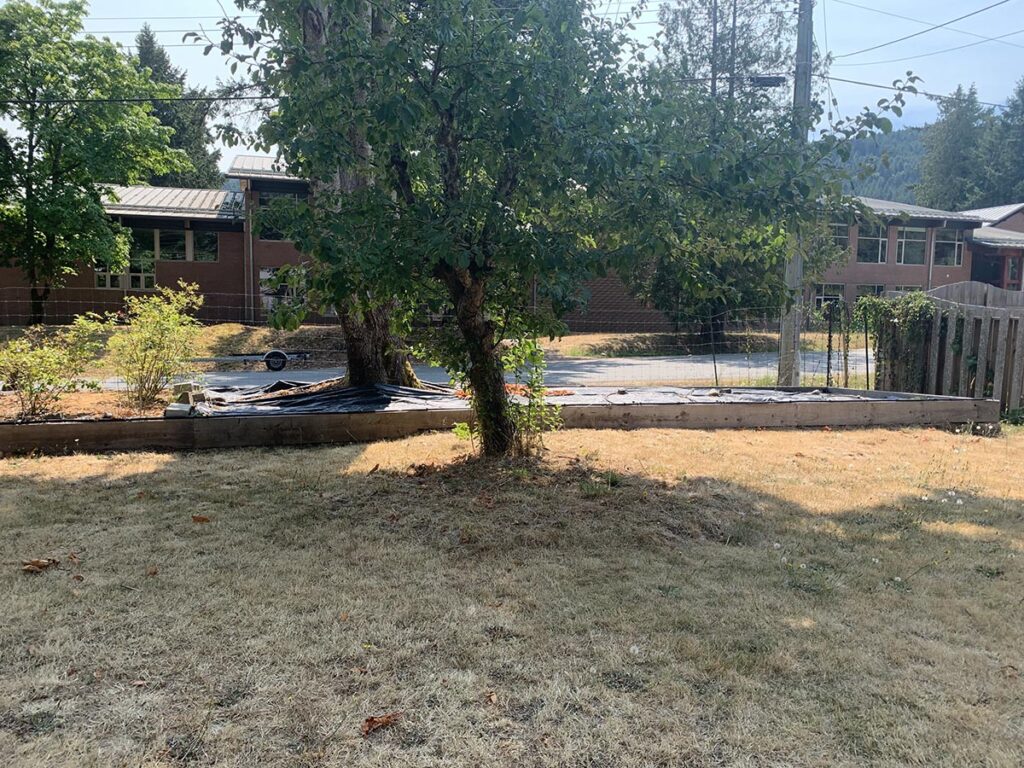
I put in two shrubs, dwarf rose (R. gymnocarpa) and red flowering currant, at the base of the mature large-leaf maple tree, with a number of kinnikinnick along the sides which will drape over the edges and provide an evergreen presence year-round. A bird bath will go in at the edge furthest from the tree as a water source for birds and insects. It provides some height when the flowers are dormant in winter.
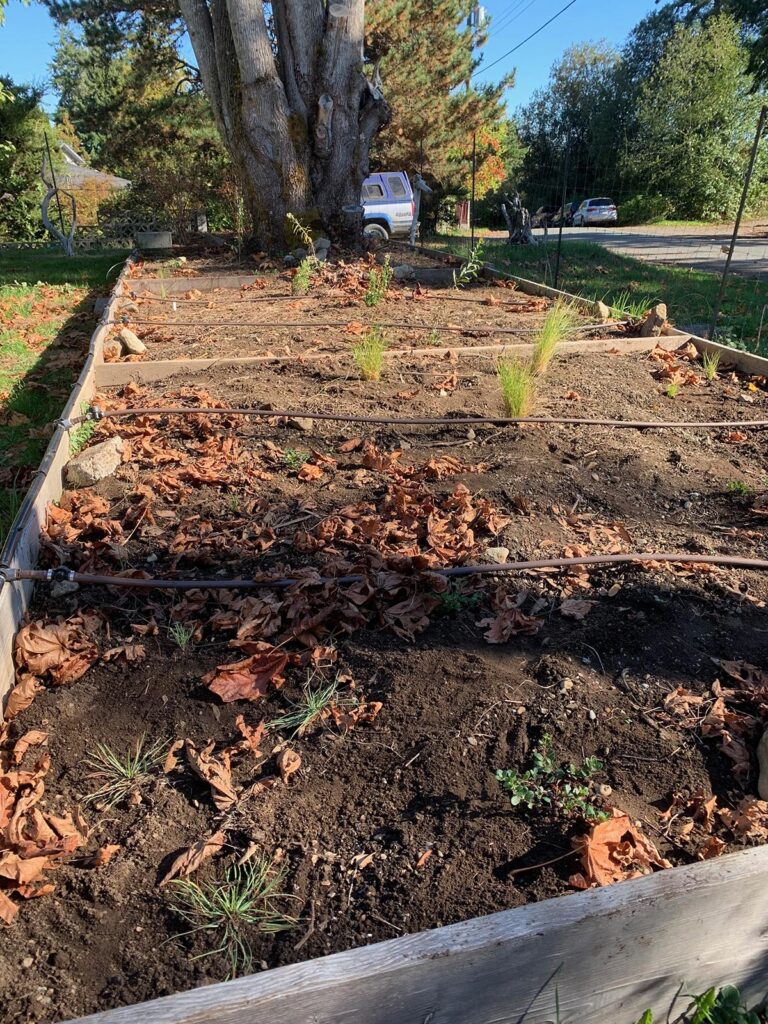
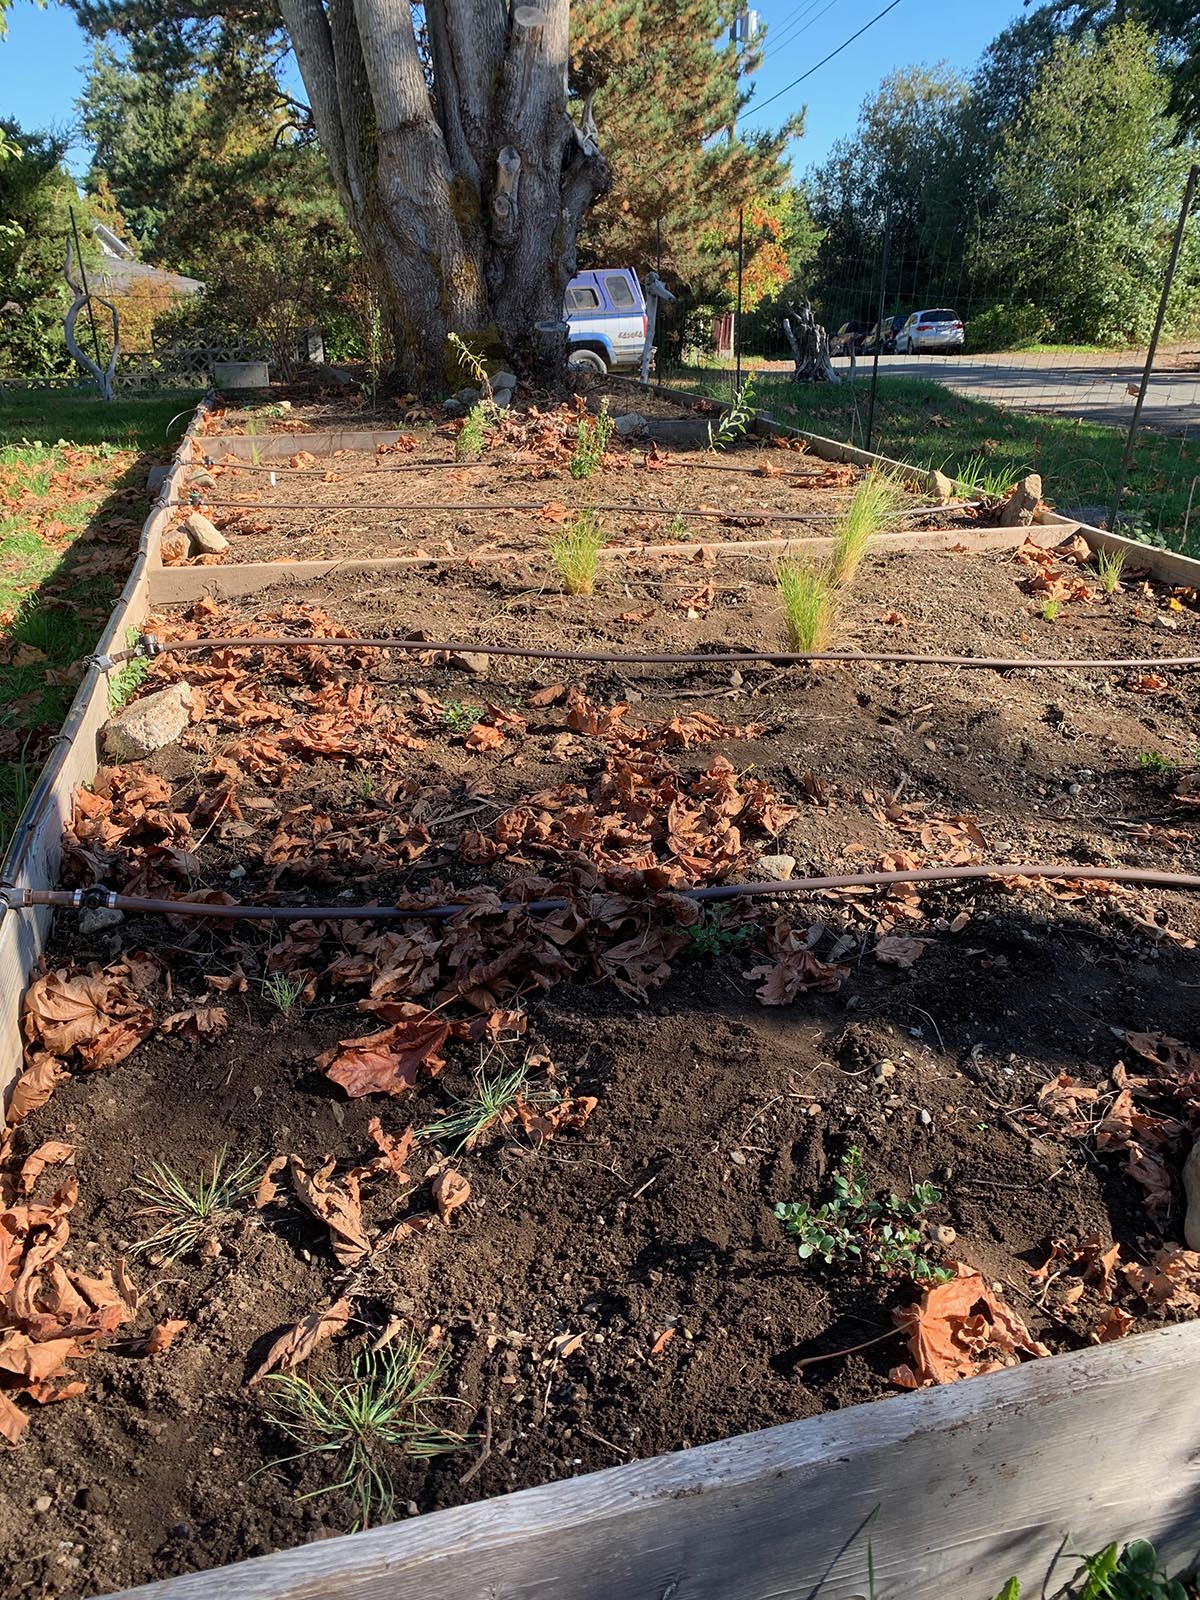
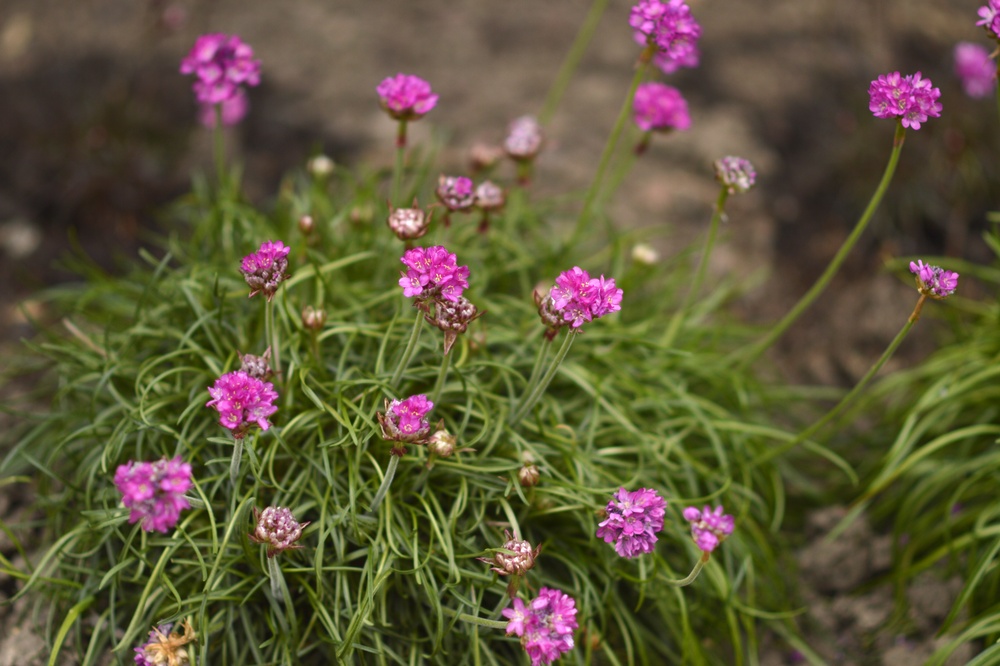
The rest of the bed is a mix of perennials such as low-lying sea thrift and nodding onion at the base of the birdbath. Medium-sized perennials like lupine, fool’s onion, woolly sunflower, Roemer’s fescue, and gumweed fill in the edges and parts of the central areas. The tallest perennials are fall-flowering asters, goldenrods, and pearly-everlastings; they will provide the last of the nectar and pollen for pollinators, and are located in the centre of the bed. I also included three pots of hairgrass near the birdbath. The birds can enjoy the flower bed over winters with lots of seed to eat from the flowers and grasses.
Due to restraints of their plant budget and the large bed, some of the plants are spaced far apart; I will be interested to see how long it takes them to fill in the open spaces. I deliberately did not add leaves as mulch, as the large-leaf maple drops an enormous amount on the bed, and will easily provide an excellent mulch to protect the plants from the cold weather, and save me from finding a different leaf source.


Jon
4’ x 60’
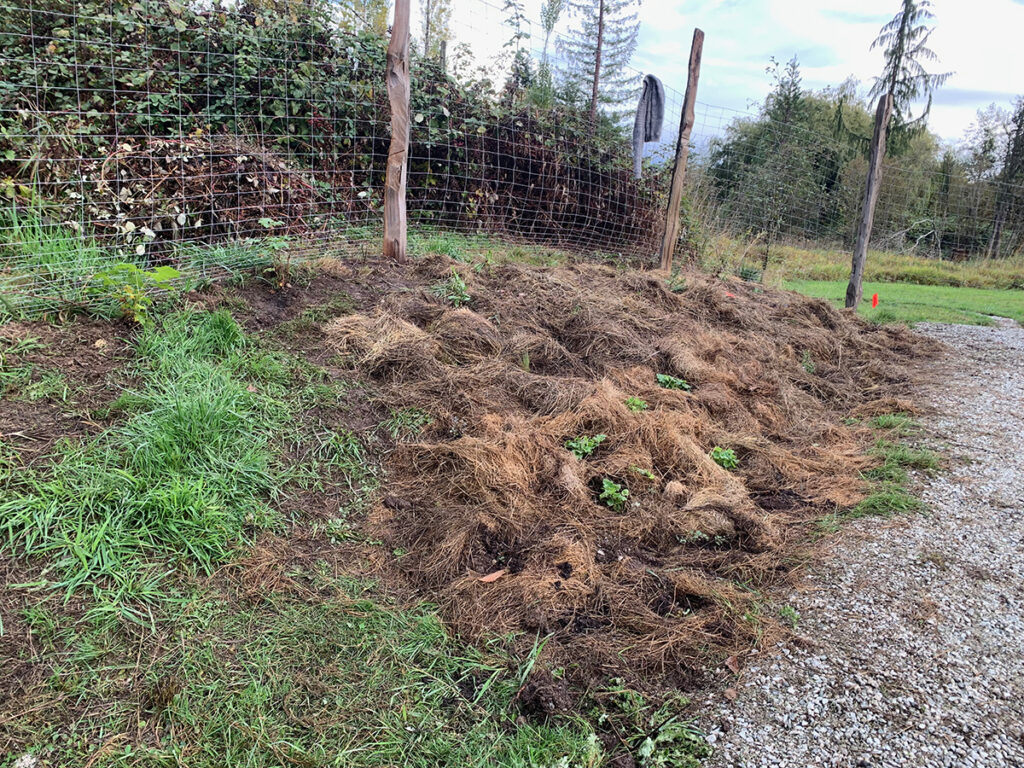
Initially, this garden was set to be 4’x19’, but Jon was inspired to expand it to the length of his property – to a full 60’! The challenge for this bed was that it was on a verge with well-established agricultural grass species. It’s also close to the windy seaside.
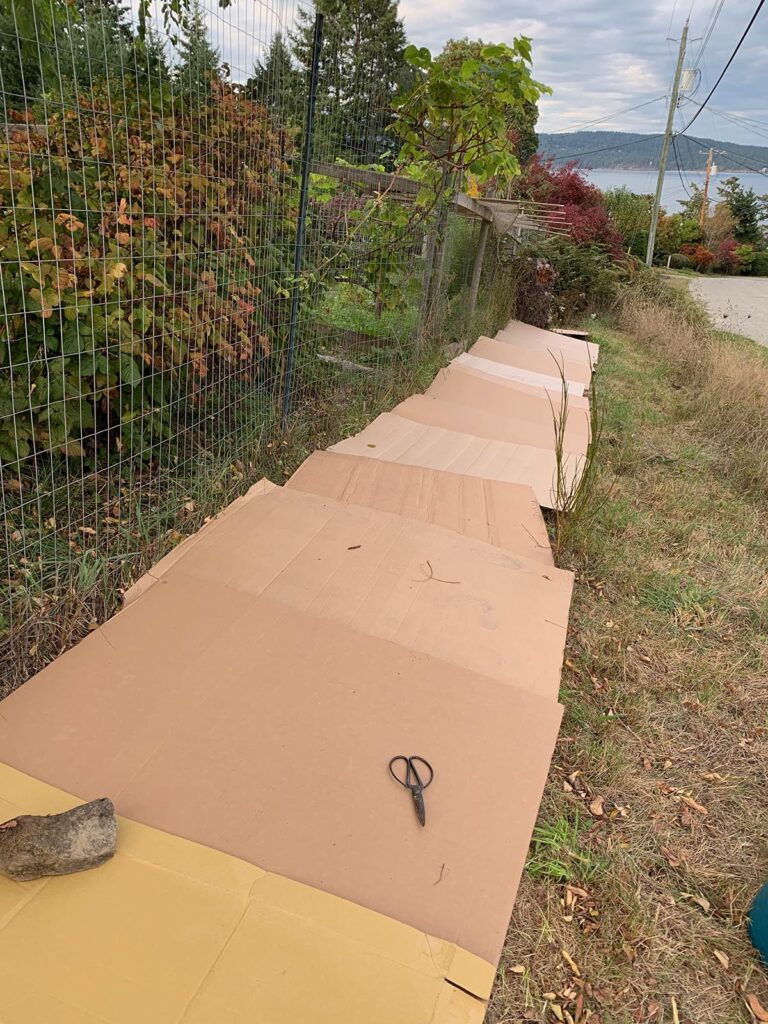


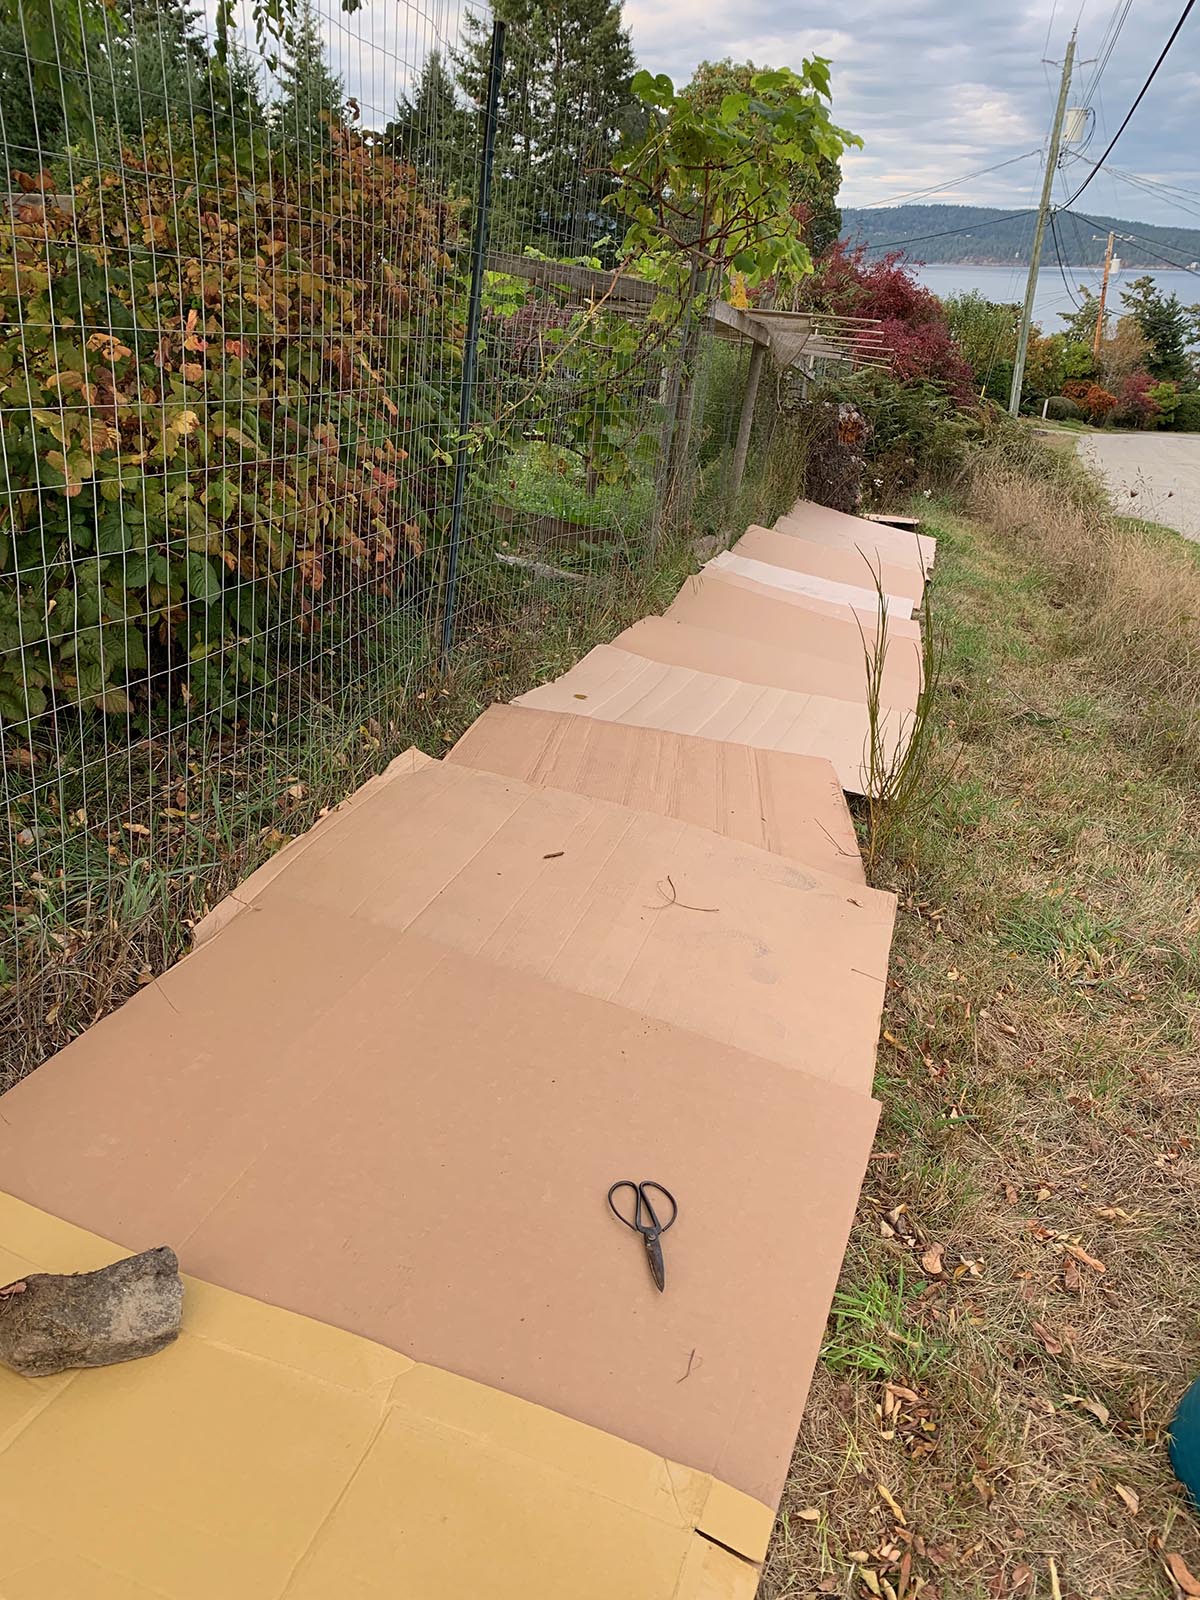

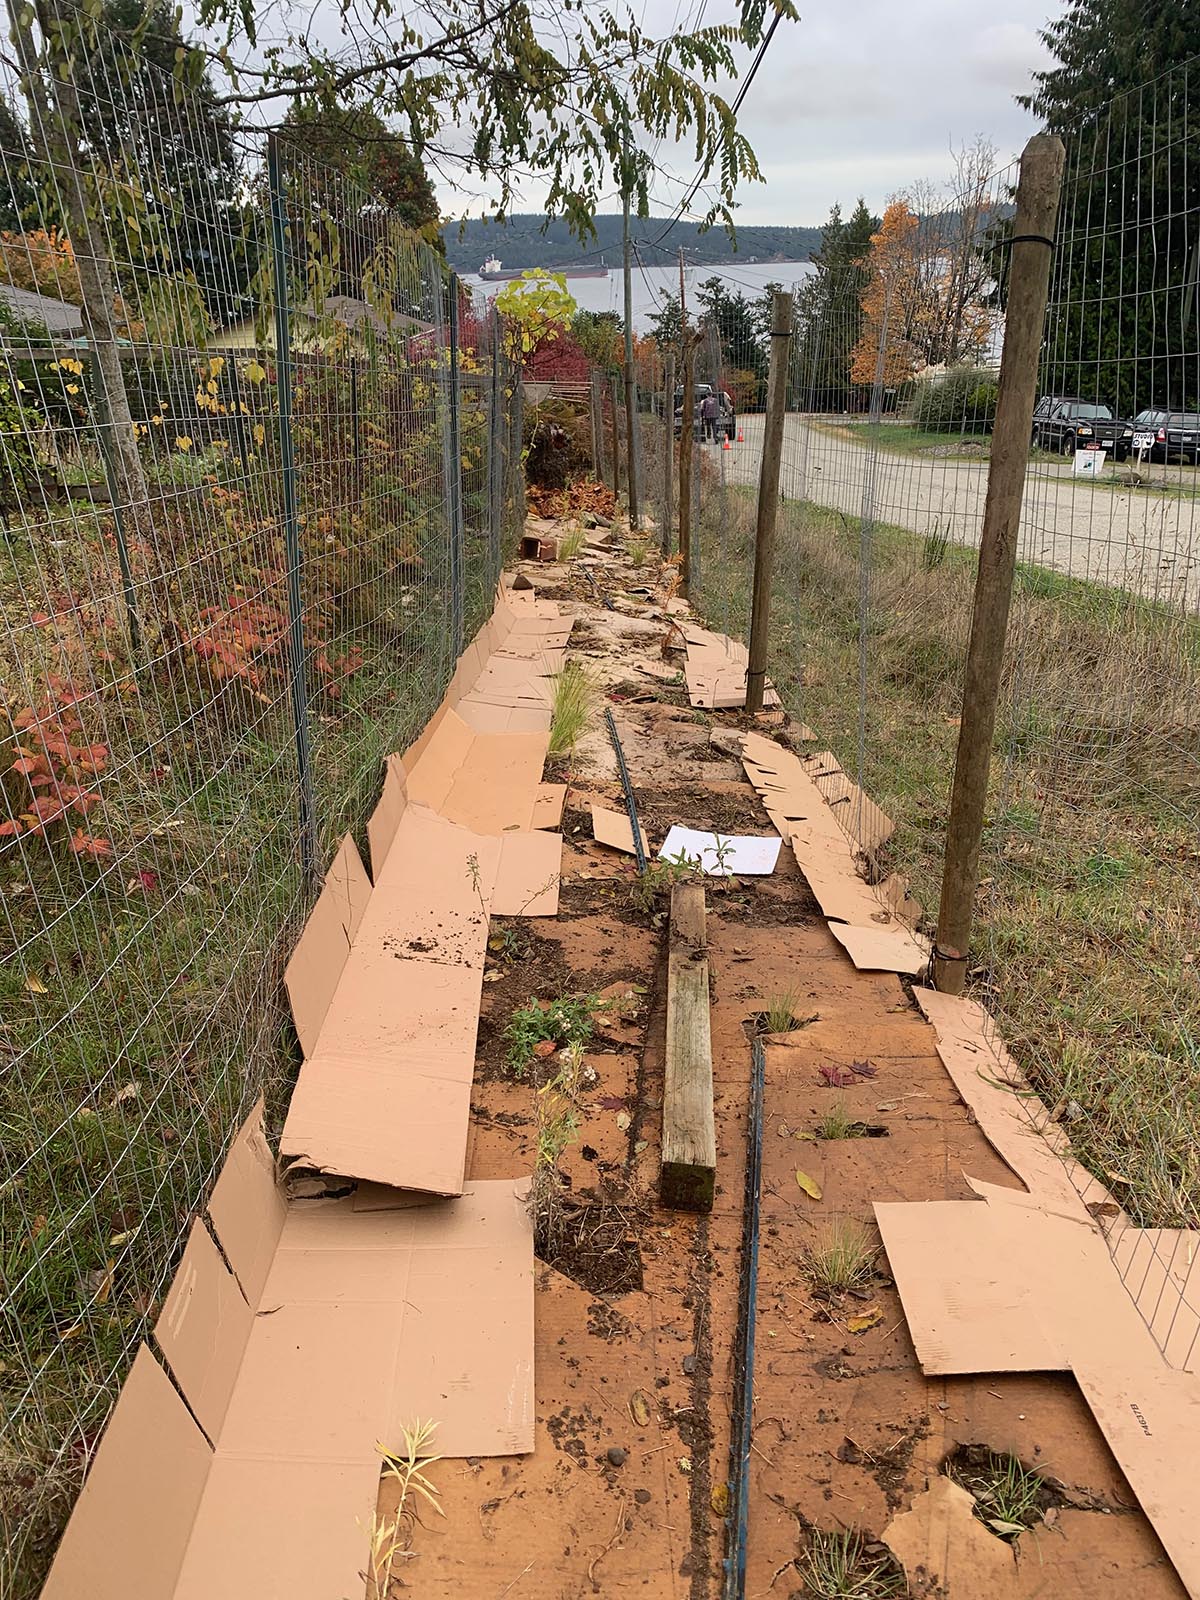

I placed cardboard over the whole bed – a space so large that it took two trips to the grocery store! I planted the plants through holes I cut in the cardboard. I am hoping this will keep the weeds down while also allowing enough moisture to reach the young plants. I found several garter snakes and realized they had a hole into their hibernaculum (shelter) in the middle of the bed. I am hopeful they were able to still enter and exit their home under the cardboard in peace.
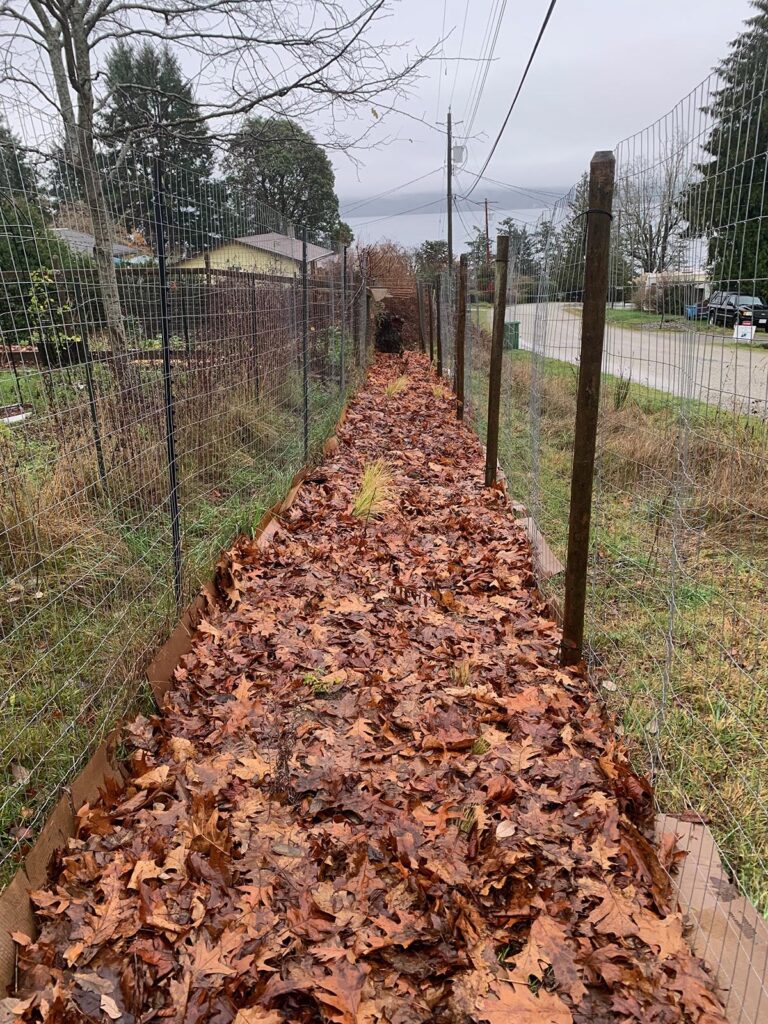
I returned to lay more cardboard down to dissuade the grasses creeping through the fences on either side of the bed. Ongoing grass maintenance will be necessary: weed-whacking with a trimmer, manual removal, and perhaps even more cardboard!
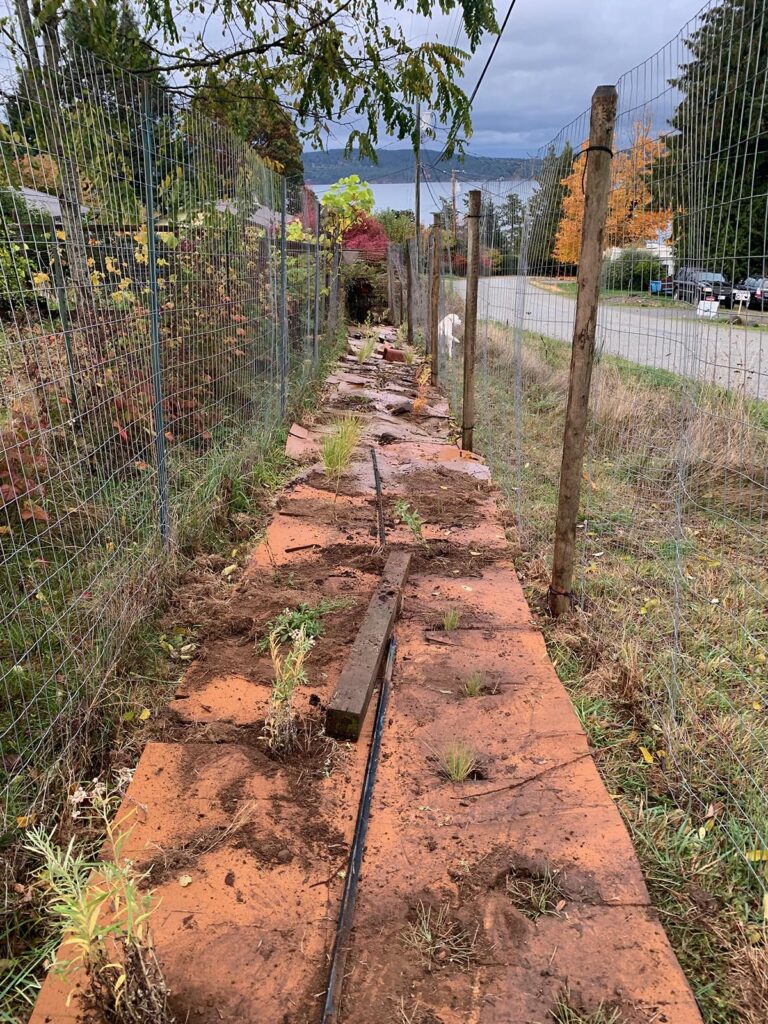
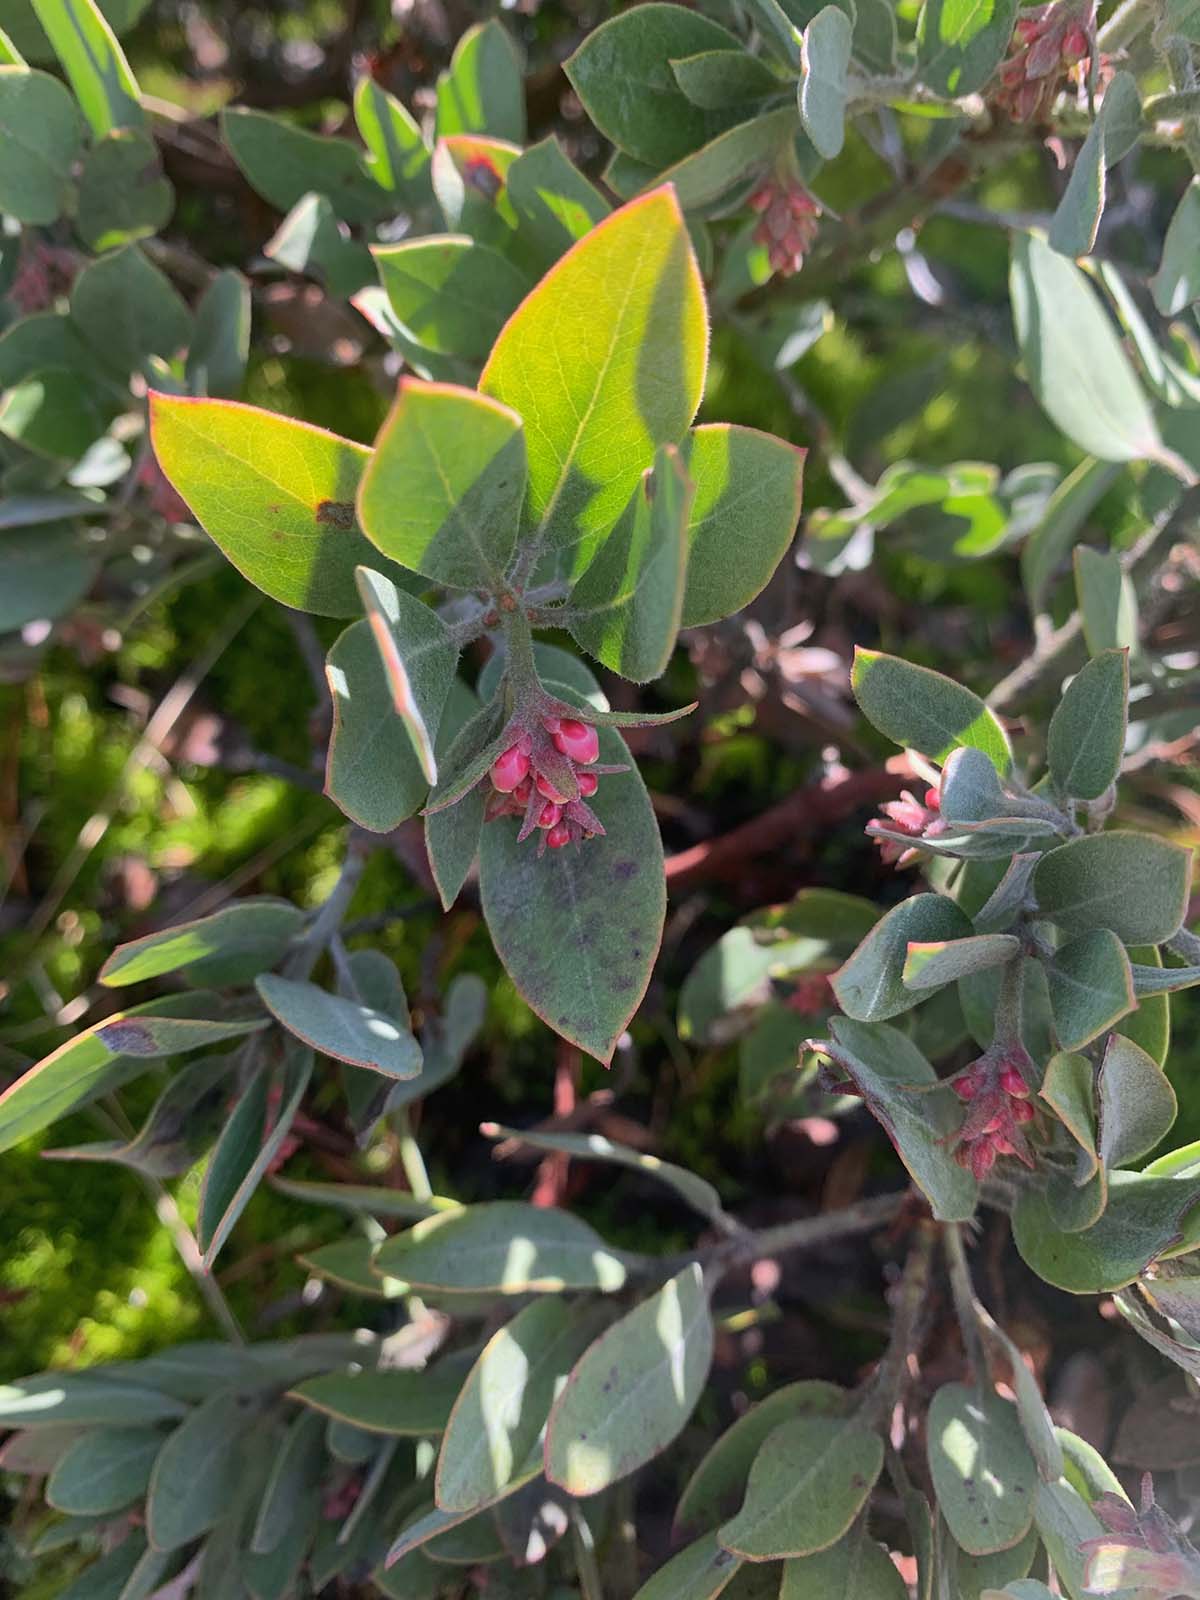
Jon is keen on food forests and has a beautiful garden with many shrubs, trees, and fruit canes that provide food for his household. He asked me to include a saskatoonberry which I did despite some concern that the berries may be dry with the intense heat and dry soil of the location. Even if Jon is unable to harvest much, the pollinators love the flowers and the birds seem to love the berries even when they are hard and dry! Central to the bed, I included a dwarf rose and a red-flowering currant, who are tolerant of dry conditions and poor soils. I will be curious to see how all of the shrubs fare.
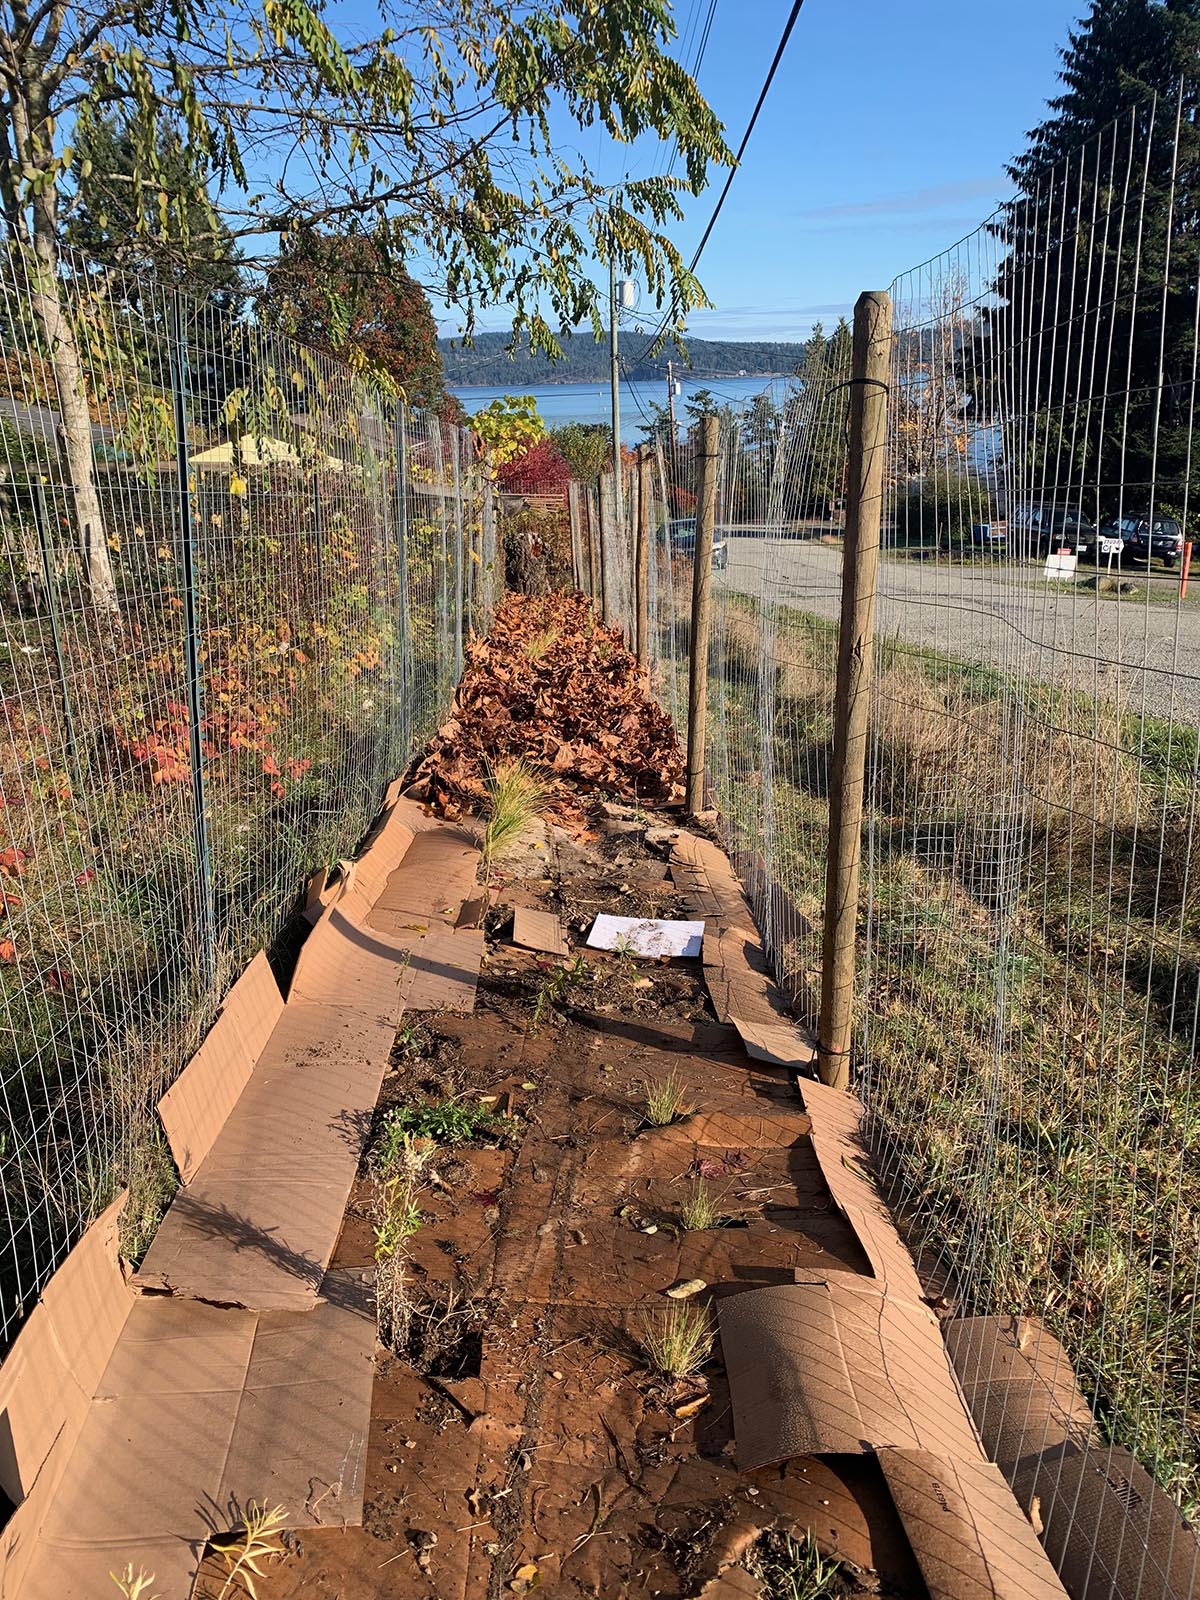
The garden bed is long and skinny, so coming up with a design was a creative challenge. In the end, I decided to install two long rows of plants with two spots that had flowers across both rows, making them look like blocks of one species. For the row closest to the road, I included the shorter species such as sea thrift, nodding onion, Roemer’s fescue and woolly sunflower as well as medium-sized perennials such as lupine, fool’s onion, woolly sunflower and gumweed. In the back row I included the shrubs, hairgrass, fireweed, larkspur and the tall fall perennials of gumweed, aster, goldenrod, and pearly everlasting. I then mulched the whole bed with deciduous leaves, hoping they will help anchor the cardboard, create new soil, suppress weeds, and shade the soil in the summer sun.
In the future, I may try more block-planting of a single plant species, rather than two rows typical of conventional beds; I’m curious to see the visual impact of this style.
The Root
25’ x 14’ and 25′ x 12’
The beds at The Root’s community garden were composed of two half-moon beds in full sun with 25’ long edges on either side of a pathway leading to their beautiful new composting toilet.
Shannon, the project organizer, invited me to give a talk under the shelter (and out of the pouring rain) before the attendees and I planted the garden together. The installation of this garden was a very big job and so much fun with everyone’s help!
The Root had bought a number of native plants in “plugs” (a young seedling grown in a small, individual cell within a tray) earlier in the year and planted them in pots; tending them during summer. A couple of species (e.g. kinnikinnick) weren’t thriving in the pots as much as others were, but we planted them anyway, crossing our fingers.
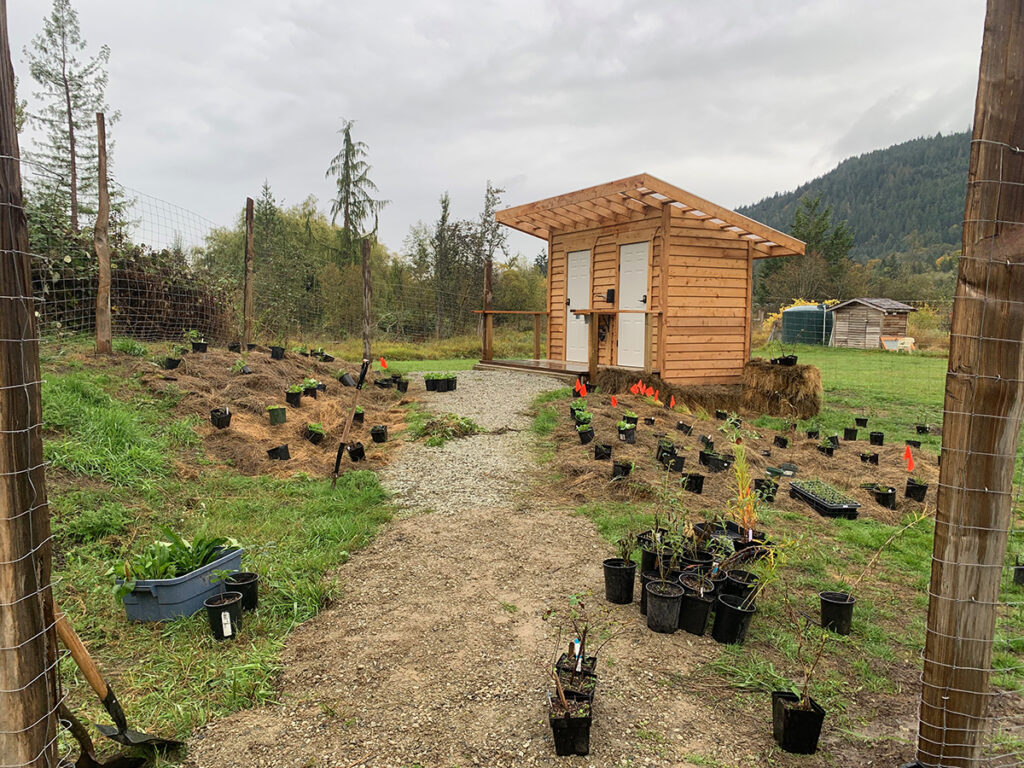
In preparation for planting, Shannon put cardboard on the soil, layered with jute bags and topped the beds with straw a month before planting. This was done to kill the grass underneath, which was remarkably effective and also stopped moisture from penetrating the soil. The soil was primarily hard clay with some gravel, making planting difficult. Luckily, with the hard work of the volunteers, we managed to chip our way through and get everything planted. The rain could now soften the soil and reach the roots, enabling the plants to thrive. I look forward to seeing the garden mature, it will be a delightful, colourful thriving garden by spring!
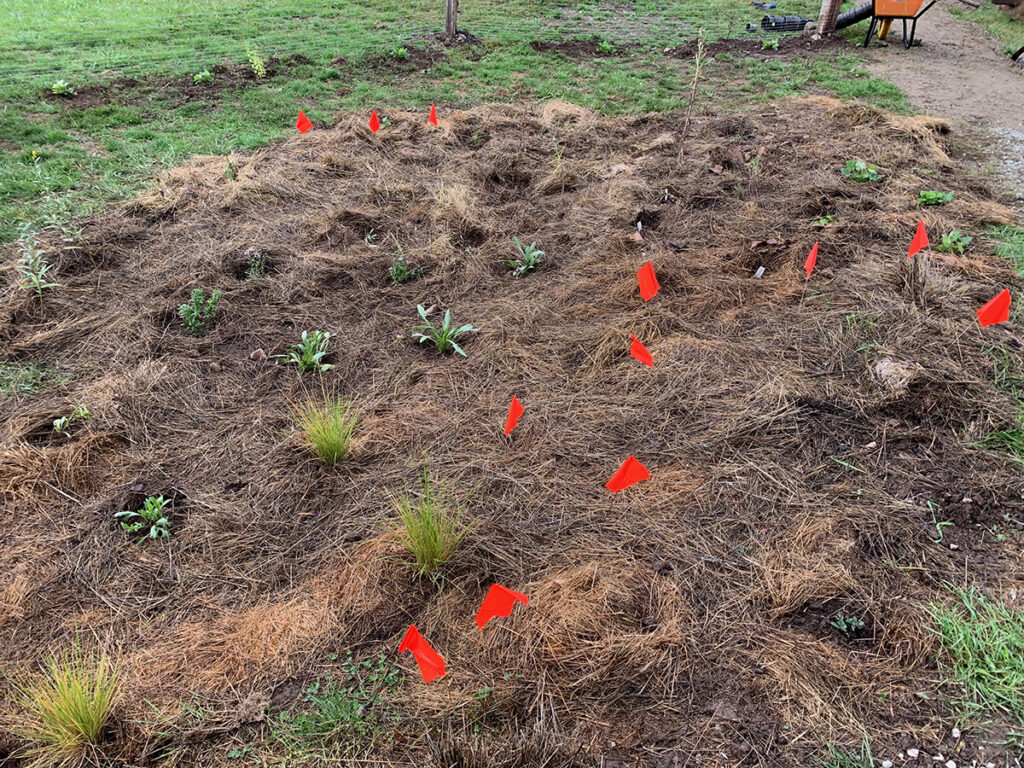

A large variety of native plants were chosen for this garden, including the flowering perennials nodding onion, woolly sunflower, fool’s onion, Menzie’s larkspur, pearly everlasting, gumweed, broadleaf lupine, Douglas’ aster, and two grasses: Roemer’s fescue and hairgrass. Several shrubs were planted around the perimeter: mock orange, oceanspray, red osier dogwood, red-flowering currant, and snowberry. Two beautiful Garry oak trees, which had been donated, were also added to the garden. Only one plant was not local, blanket flower, which is native to the prairie region of North America, and while it does not provide habitat, it is not invasive and is delightfully colourful and a good source of nectar and pollen for insects. Supporting insects should result in larger and more numerous fruits and vegetables in The Root’s community garden plots.

Anne
30’ x 11’
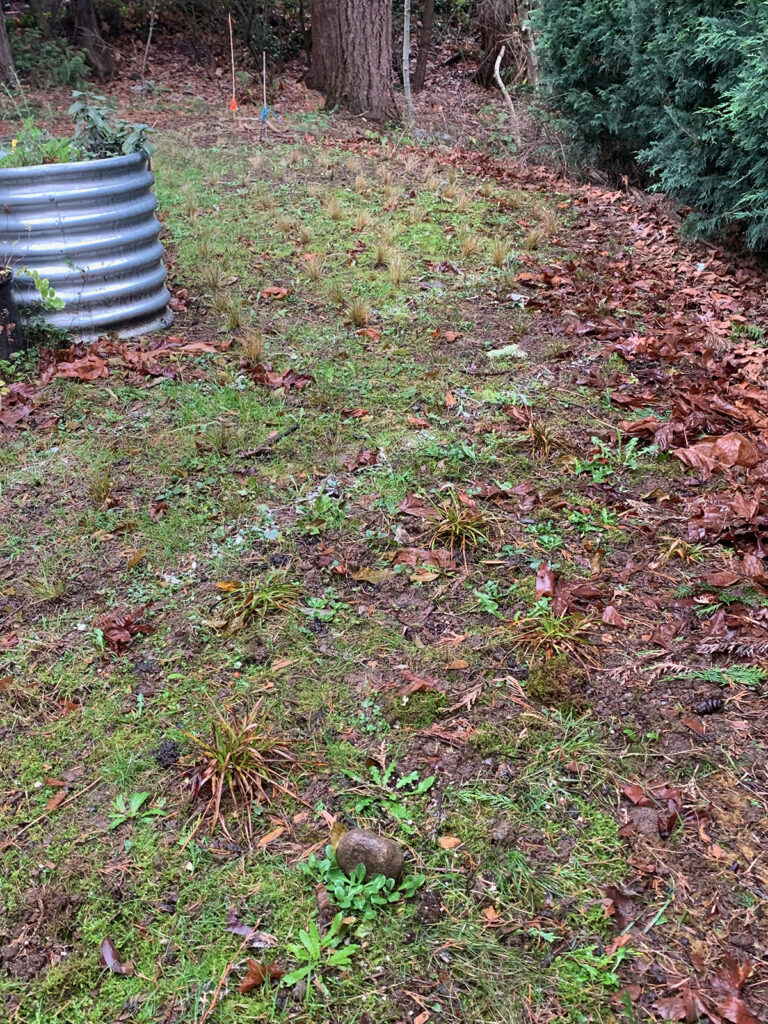
The garden bed is a half-moon shape with a 30’ base edge, in a private backyard.
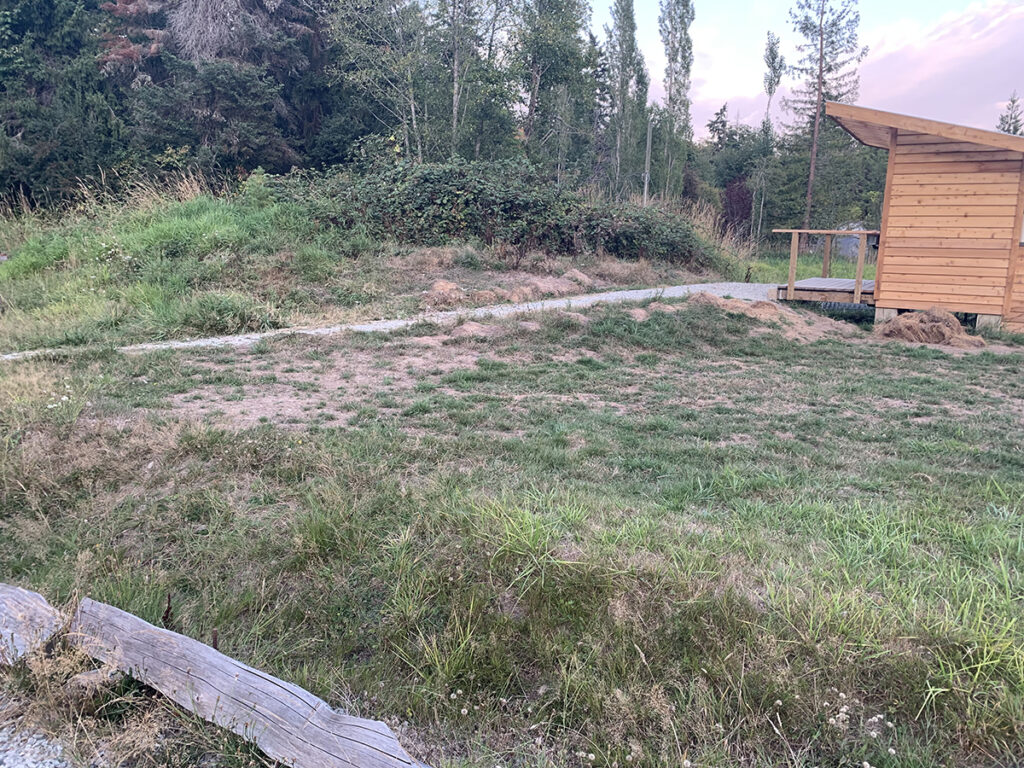
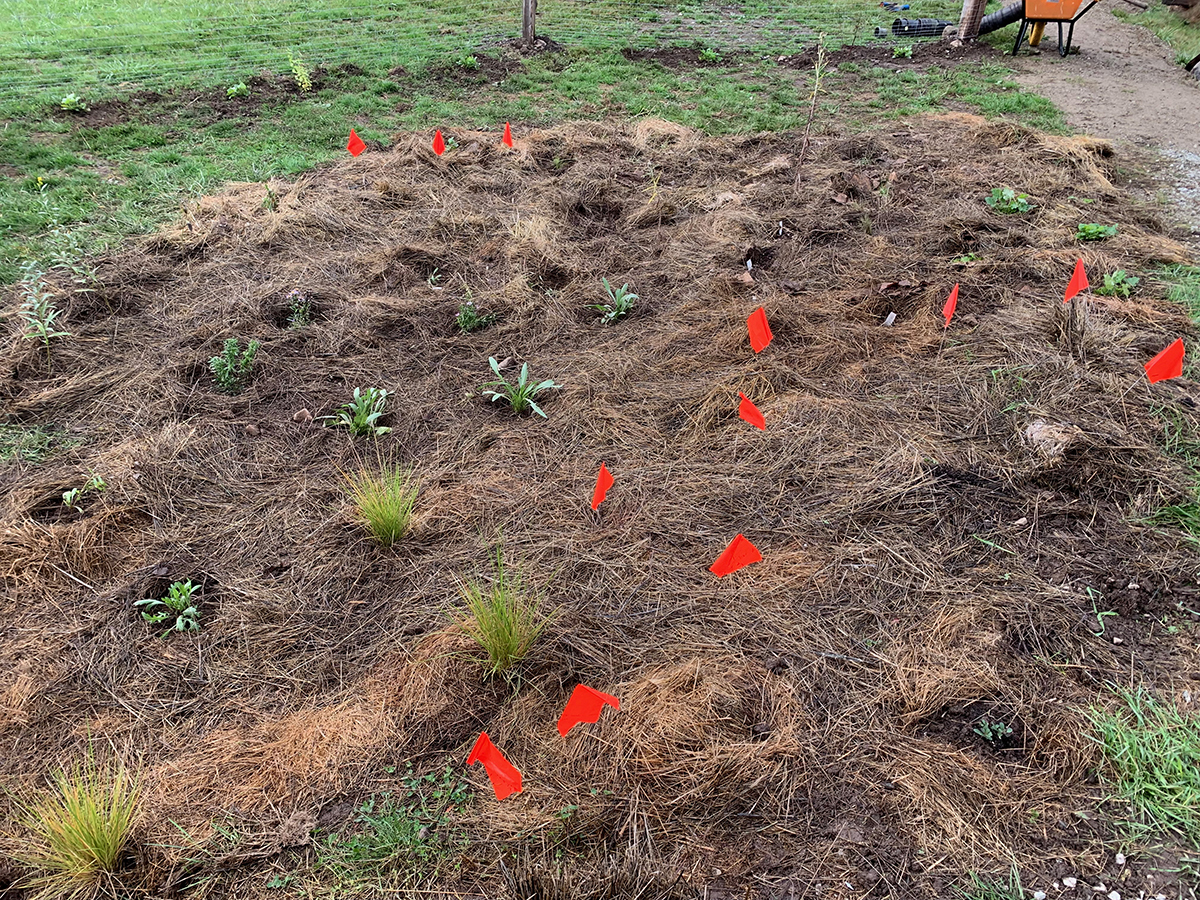
Native grasses, not flowers, are the focus here. Anne wanted to primarily plant native bunch-grasses as an alternative to lawn, lowering maintenance and water requirements. Her backyard is bordered by a large cedar hedge on the south side, which casts deep shadows by mid-to-late afternoon in the summer. One end of the garden bed is also shaded for much of the day by an enormous large-leaf maple tree.

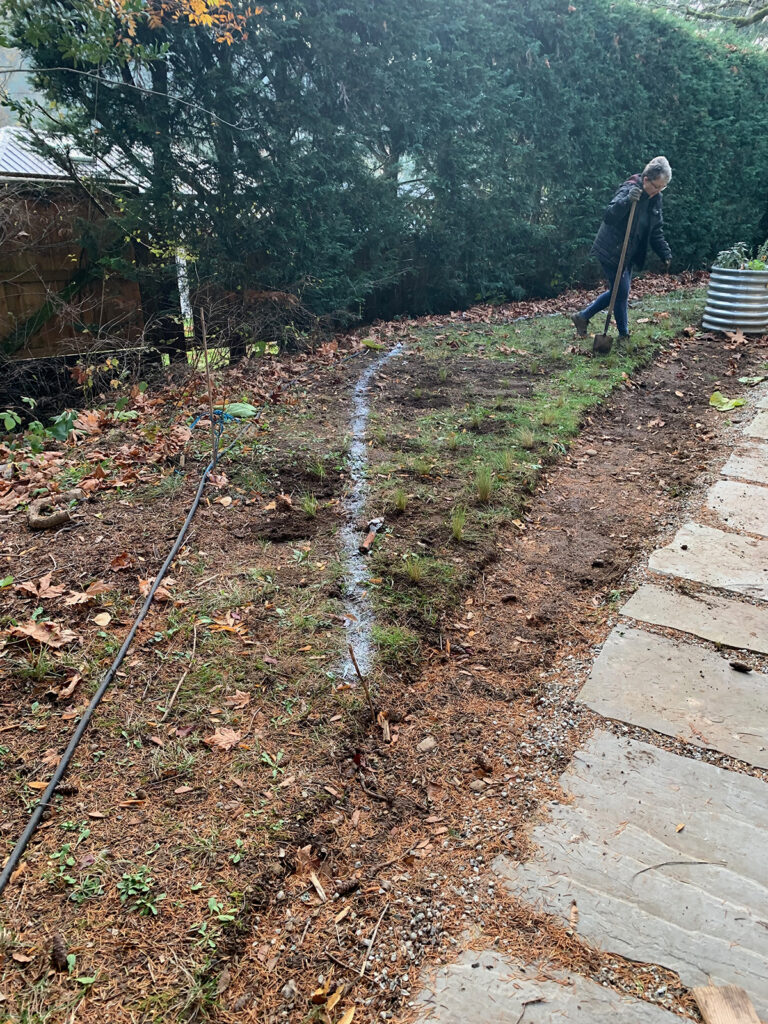
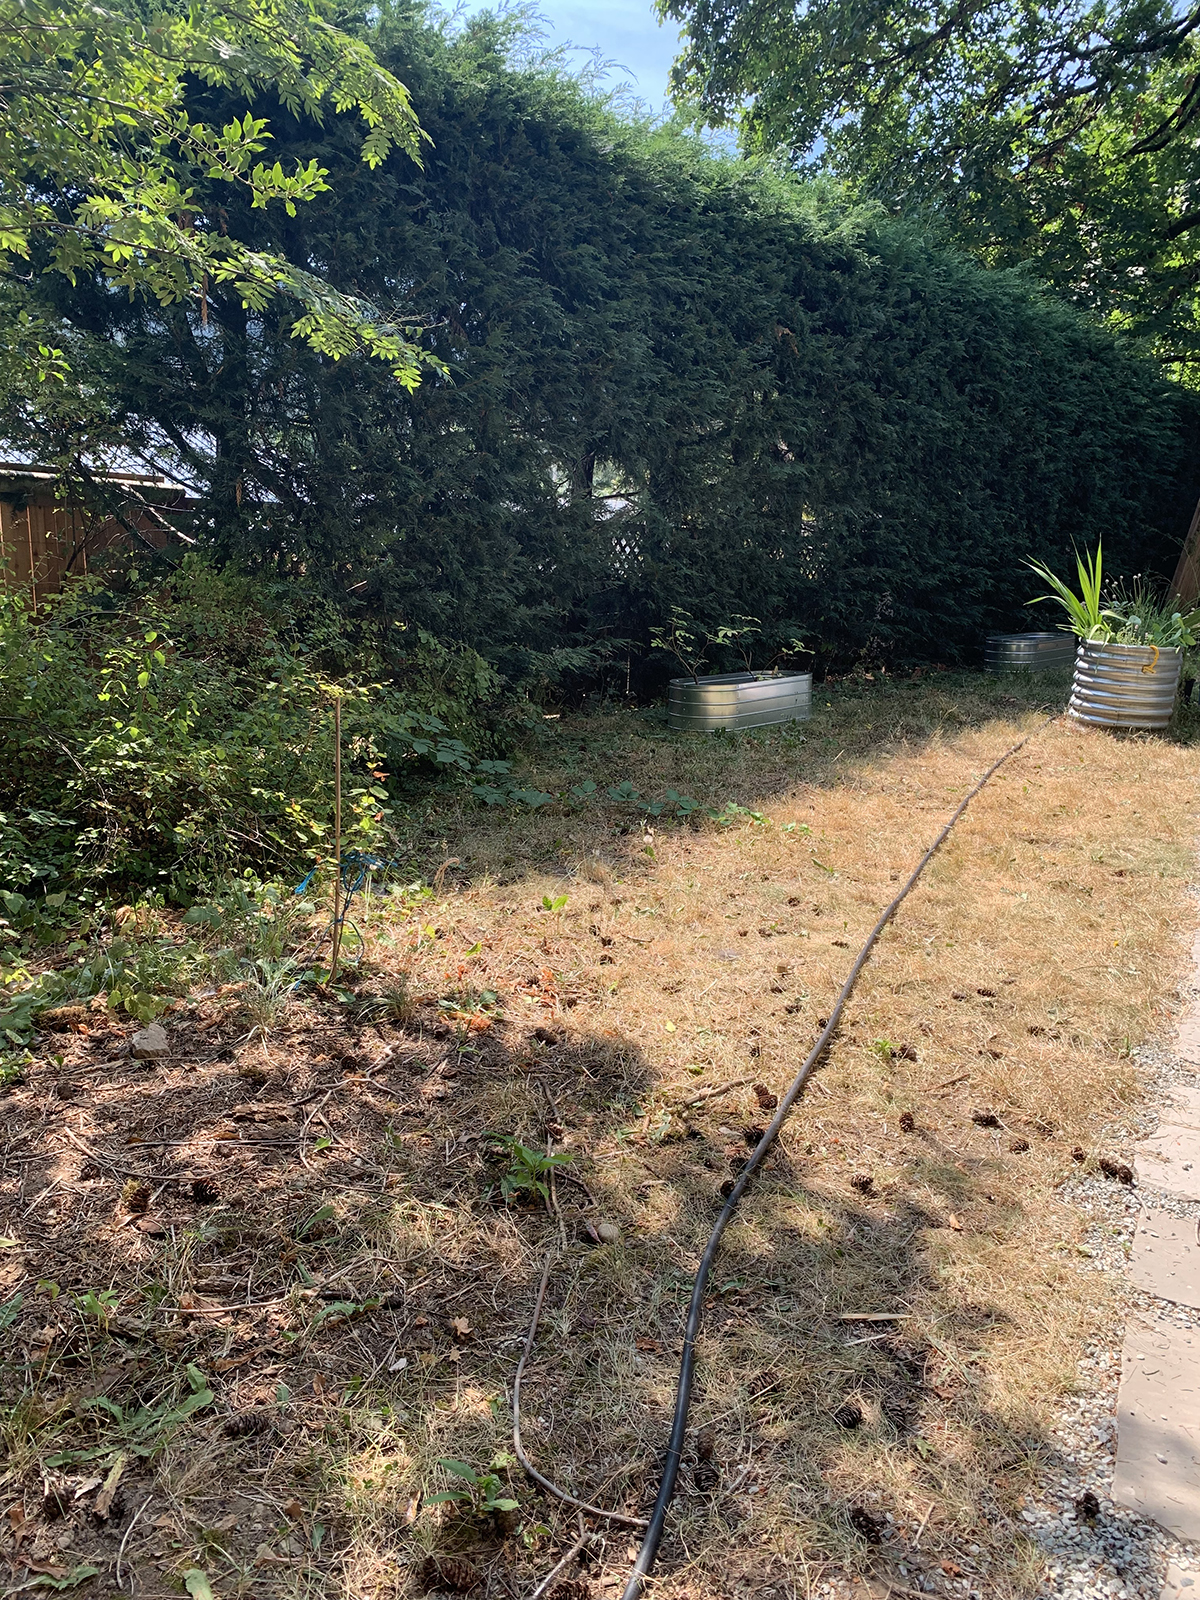


We decided on a semi-circle bed shape given the hours of direct sun and the needs of the plants. The sun hits this area during the hottest part of the day and needs drought tolerant grasses to withstand the conditions. To lower costs, Anne chose to buy two plug trays of native grasses: Roemer’s fescue and June grass. In the end of the bed that’s shaded by the maple tree, we planted sedges which are tolerant of partial shade but normally prefer soil that is more moist than in this spot, so it will be an interesting experiment to see how they fare.
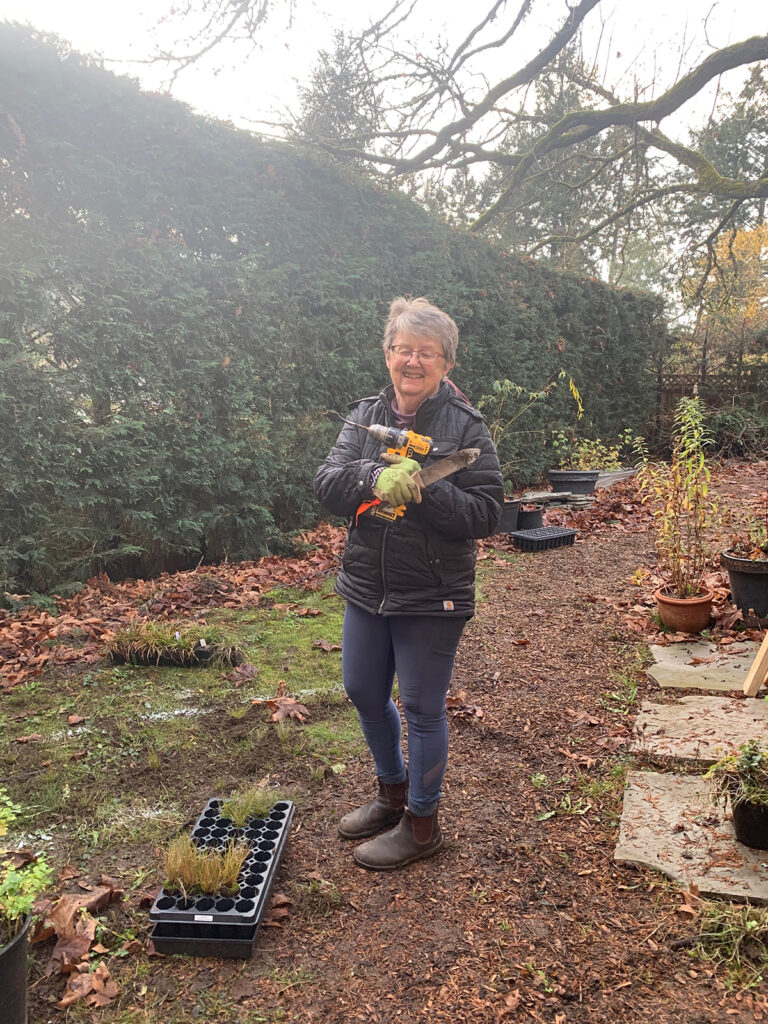
Instead of smothering the existing grass with cardboard, Anne wanted to plant directly into the soil without removing the existing grass or weeds. The hope is that the bunchgrass will grow over top of it. To make planting easier, Anne’s partner suggested using a drill to create the planting holes, and what a difference it made! I expanded the hole a little bit with a trowel and popped the plug in, tucking soil around it. I will certainly use this method in the future to speed up the planting process.
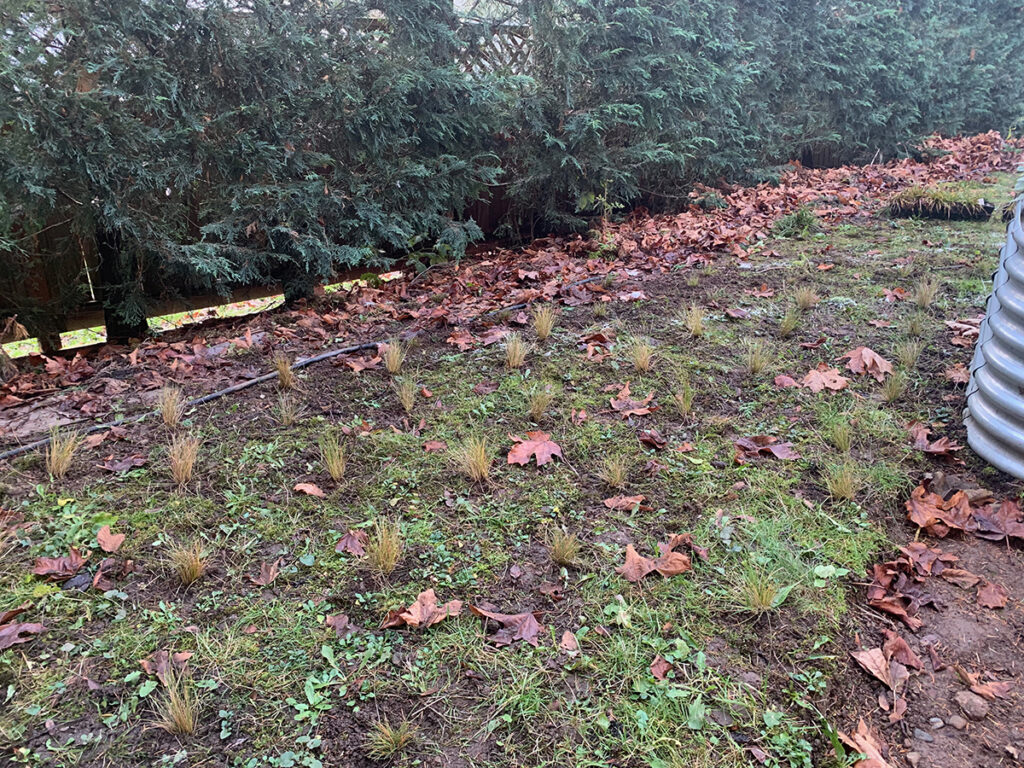
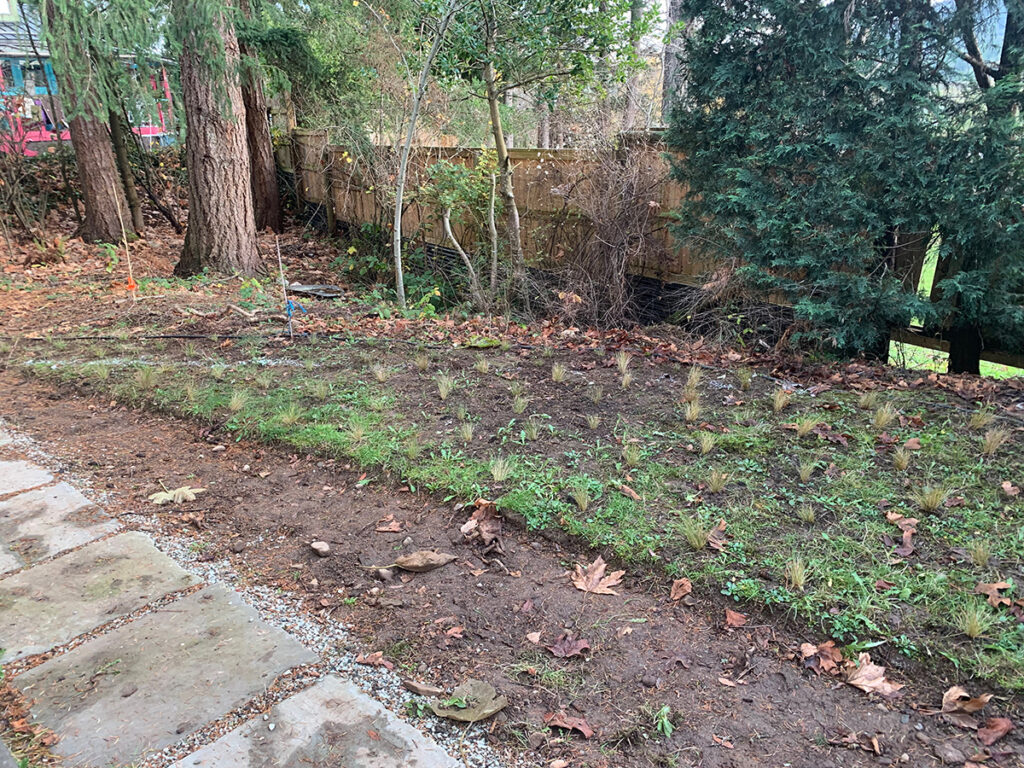


We planted the grasses in a fairly regular pattern, approximately 1.5’ feet apart. I am very excited to see what the area looks like once the grasses are established. These grasses support the larval (caterpillar) stages of Lindsey’s skippers, sandhill skippers, Sonora skippers, woodland skippers, and western banded skipper butterflies.
Leave a Reply