Purchasing a ready-made mason bee house can be an expensive proposition, ranging from approximately $50-100 in price. However, with some basic carpentry tools (e.g. drill) you can make and maintain your own bee house for very little money.
Building The House
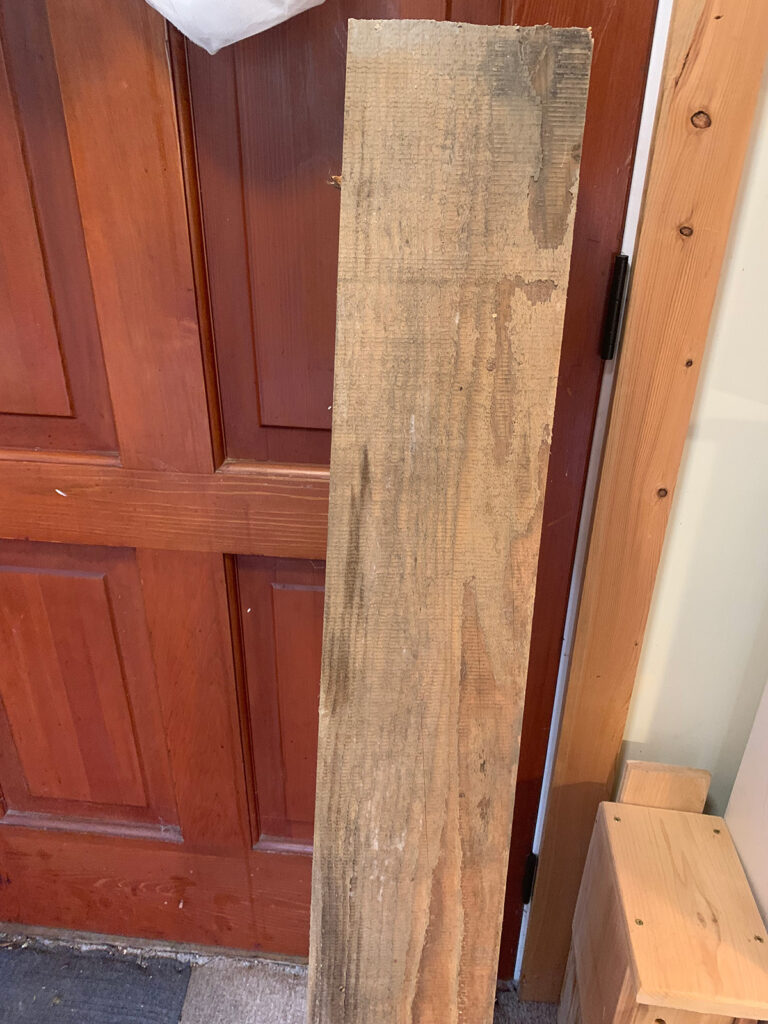
To create the conditions for a healthy sex-ratio balance between male and female bees use a block of wood that is dry, solid, and at least 6”thick. A square or rectangular chunk of wood is ideal. The sex-ratio balance in nature is typically ⅔ females and ⅓ males. If the wood is less than 6” thick, the female will lay more male eggs, causing a sex-ratio imbalance.
Use fir, maple, or cedar. Cedar is ideal due to its rot-resistant qualities, but it is expensive and difficult to find a piece of wood that is big enough. I went to the local lumber store and was sold the off-cut of a fir beam for $35.
Drilled Block House
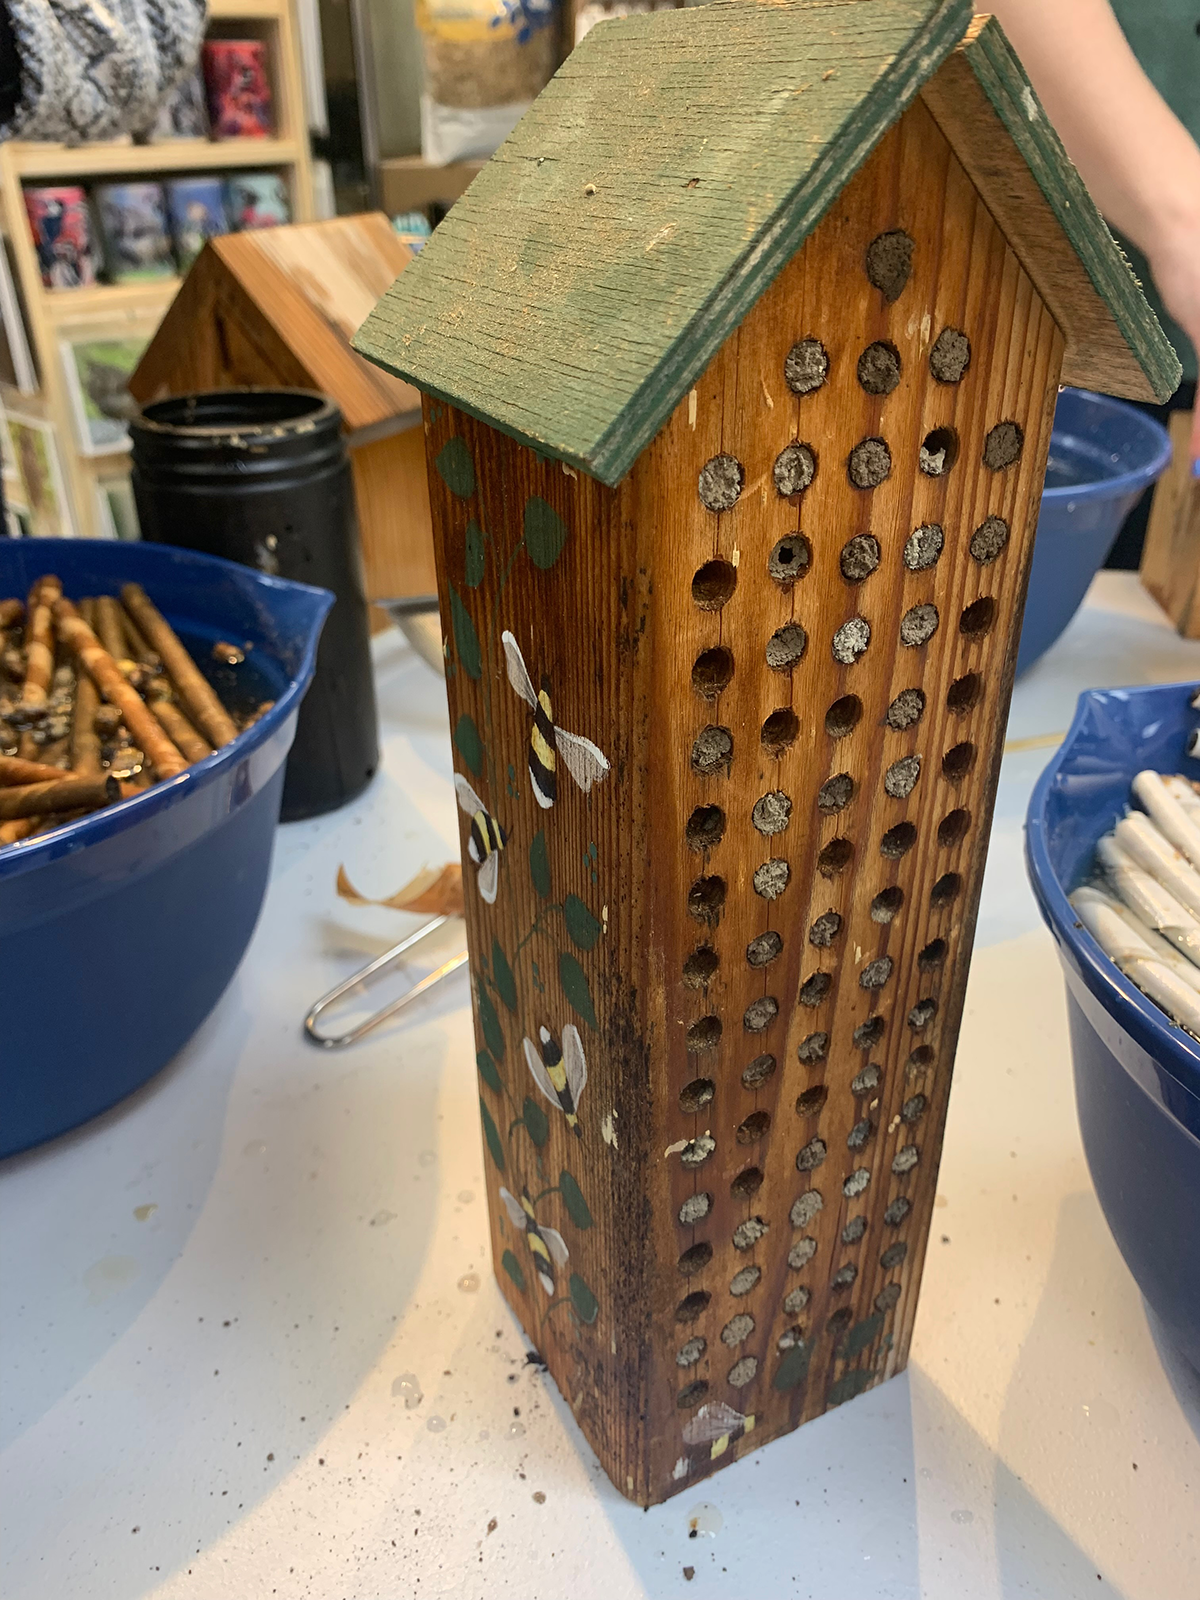
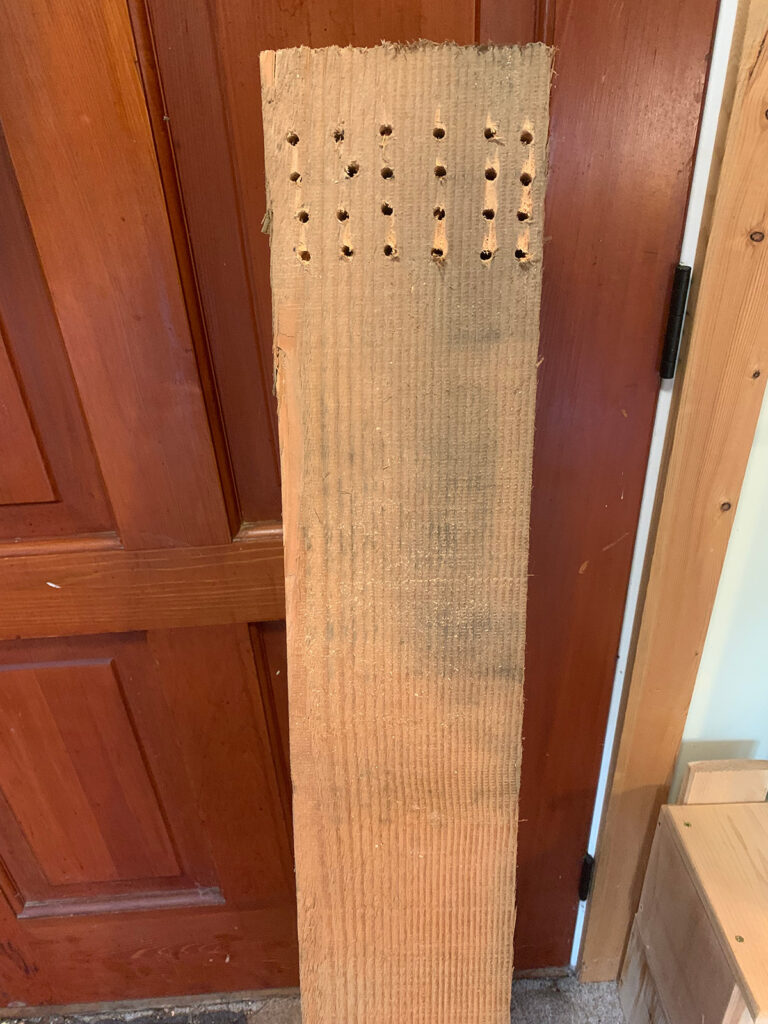
Drill straight holes into the wood that are ¼” in diameter and at least 6” deep. If your wood is exactly 6” and you drill through to the other side, there is an easy fix: place black duct tape over the area on the back. This blocks the light, creating dark conditions needed by the female, and saves her the trouble of sealing up the back with mud.
Laminate House
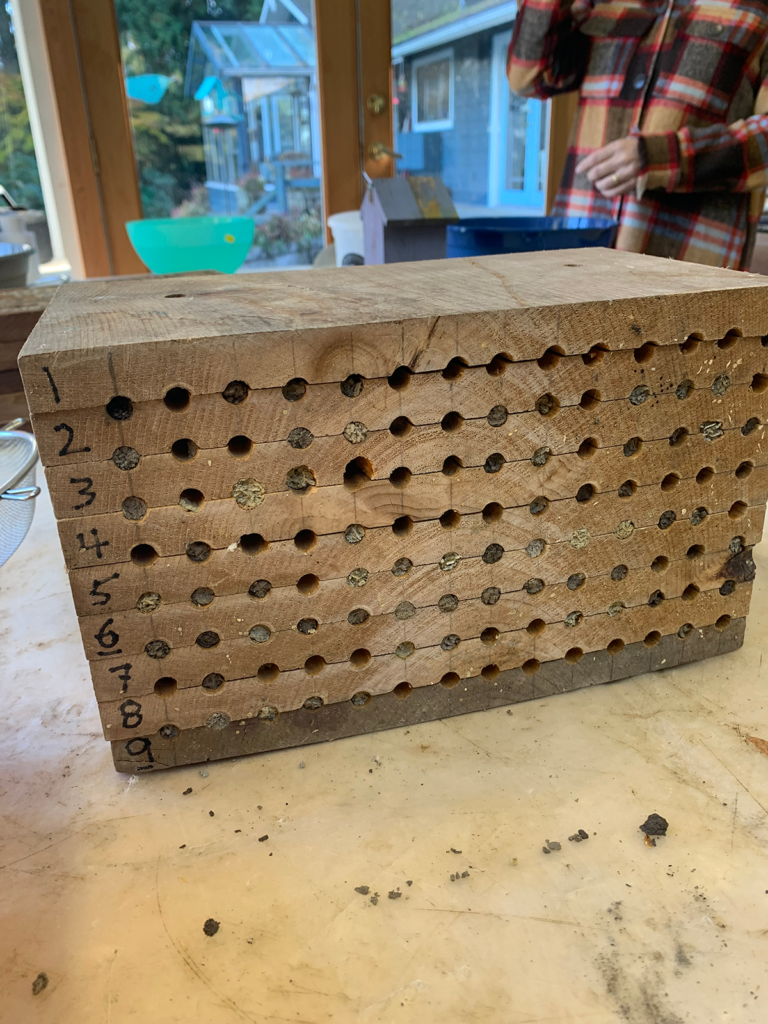
Alternatively, if you have access to a router and the skills to use it, a laminate house is possible to build, such as seen below. Laminate houses have layers within the nesting block that often have rows of half circles that make a hole when they are sandwiched together. The preferred mason bee nest hole size is ¼” in diameter. Though they are more complex to build, laminate style houses have certain advantages; tubes are not needed, and they can be cleaned out every year, and re-used at no extra cost or effort.
Protection From Rain
The house needs a roof to protect the wood from rotting, and to prevent rain from entering the nesting holes. The roof should have an overhang of 2”. Make sure to burn these houses after 2-3 years of use, as mould will eventually grow, despite the winter drying-out periods.

Tubes
In wooden houses, it is necessary to line each hole with a paper tube, to allow for proper cleaning at the end of the season. Wooden houses are at risk of harbouring parasites or growing mould due to their closed-in nature.
You can purchase paper tubes, but they can easily run up to $1 each. To make tubes yourself, take 6” long strips of parchment paper and spin them around a pencil so that they form tubes that can be inserted into the holes in the house. Parchment paper is thin and won’t shrink the nesting hole. The parchment paper tubes make cleaning up at the end of the season so easy! You just unravel the paper and let the cocoons (mud and all) drop into the water for cleaning (see video).
Avoid using bamboo as tubes, however easy and tempting it seems! Bamboo tubes mould very easily and have a thin skin on the inside that wraps around the cocoon; this is very difficult to remove for cleaning and may inhibit growth of the cocoon.
Cleaning
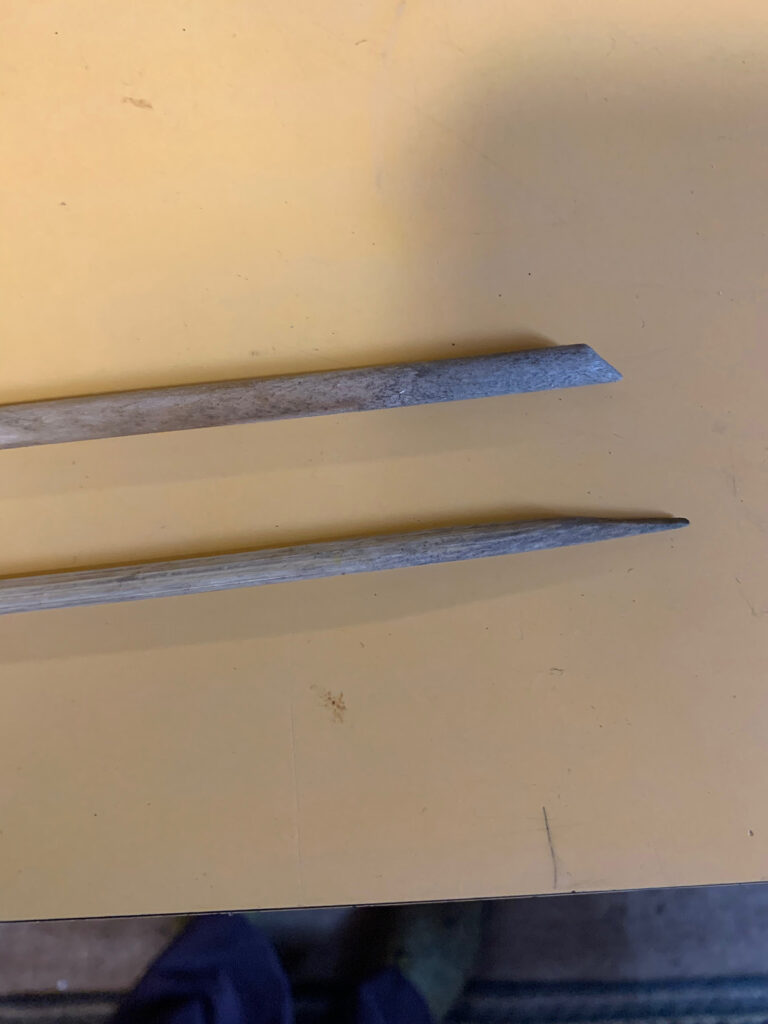
Cleaning the house takes place in the fall (start of October to mid-November). With a layered nesting block or laminate house, carefully separate the layers and run a sharpened chopstick gently under the cocoons, pushing them up and out into a bowl of water. Be careful not to pierce the cocoons with the chopstick; angle the chopstick under the curve of the cocoon. Don’t worry if the mud and mites get in the water; they will sink and be washed out.
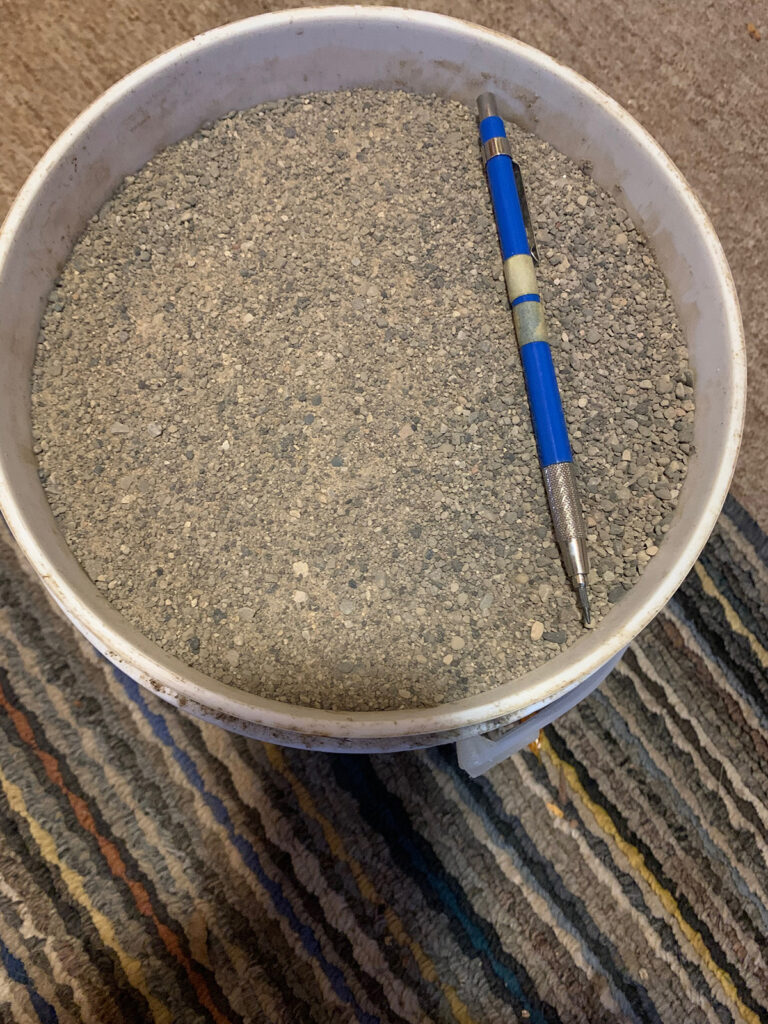
Sand can also be used to scrub the cocoons- try sourcing it from a local sand quarry if you have one nearby, or buy a bucket of fine-grain/mason sand – a very inexpensive option. Using a sieve from the kitchen works well and there is no need for a new sieve especially for this purpose. Mix the sand, cocoons and small amounts of water to create a type of slurry and mix them around in the sieve, removing the mites from the cocoon skins.
Check out my recent post for a detailed guide to cleaning mason bee houses.
Winter Storage
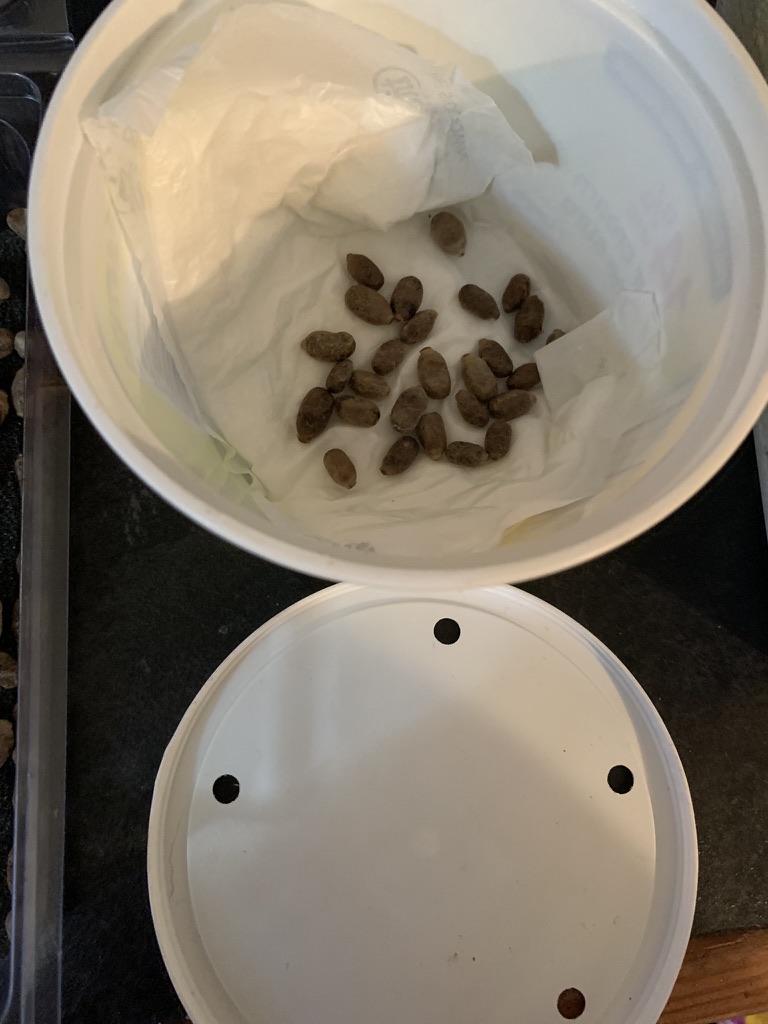
An easy hack for keeping the cocoons over winter is to use a small plastic yogourt container and punch 4 or 5 holes in the lid. I used a hand held paper puncher to do this.
Line the container with a small piece of cloth that you keep damp or a liner like ones typically found in meat trays at the supermarket – my friend refers to them as ‘meat diapers’. You can buy them online or perhaps ask the grocery store if you can have a clean one. Add a thin layer of water on the bottom of the container, put the pad on top and put your cocoons on top of that.
Typically the cocoons are stored at 60% humidity, which may seem high, but it prevents them from drying out. Think of the winter conditions they overwinter in naturally, damp and cold right? Put the container in the refrigerator.
Check out my recent post for a detailed guide to winter storage for mason bee houses.
Leave a Reply